

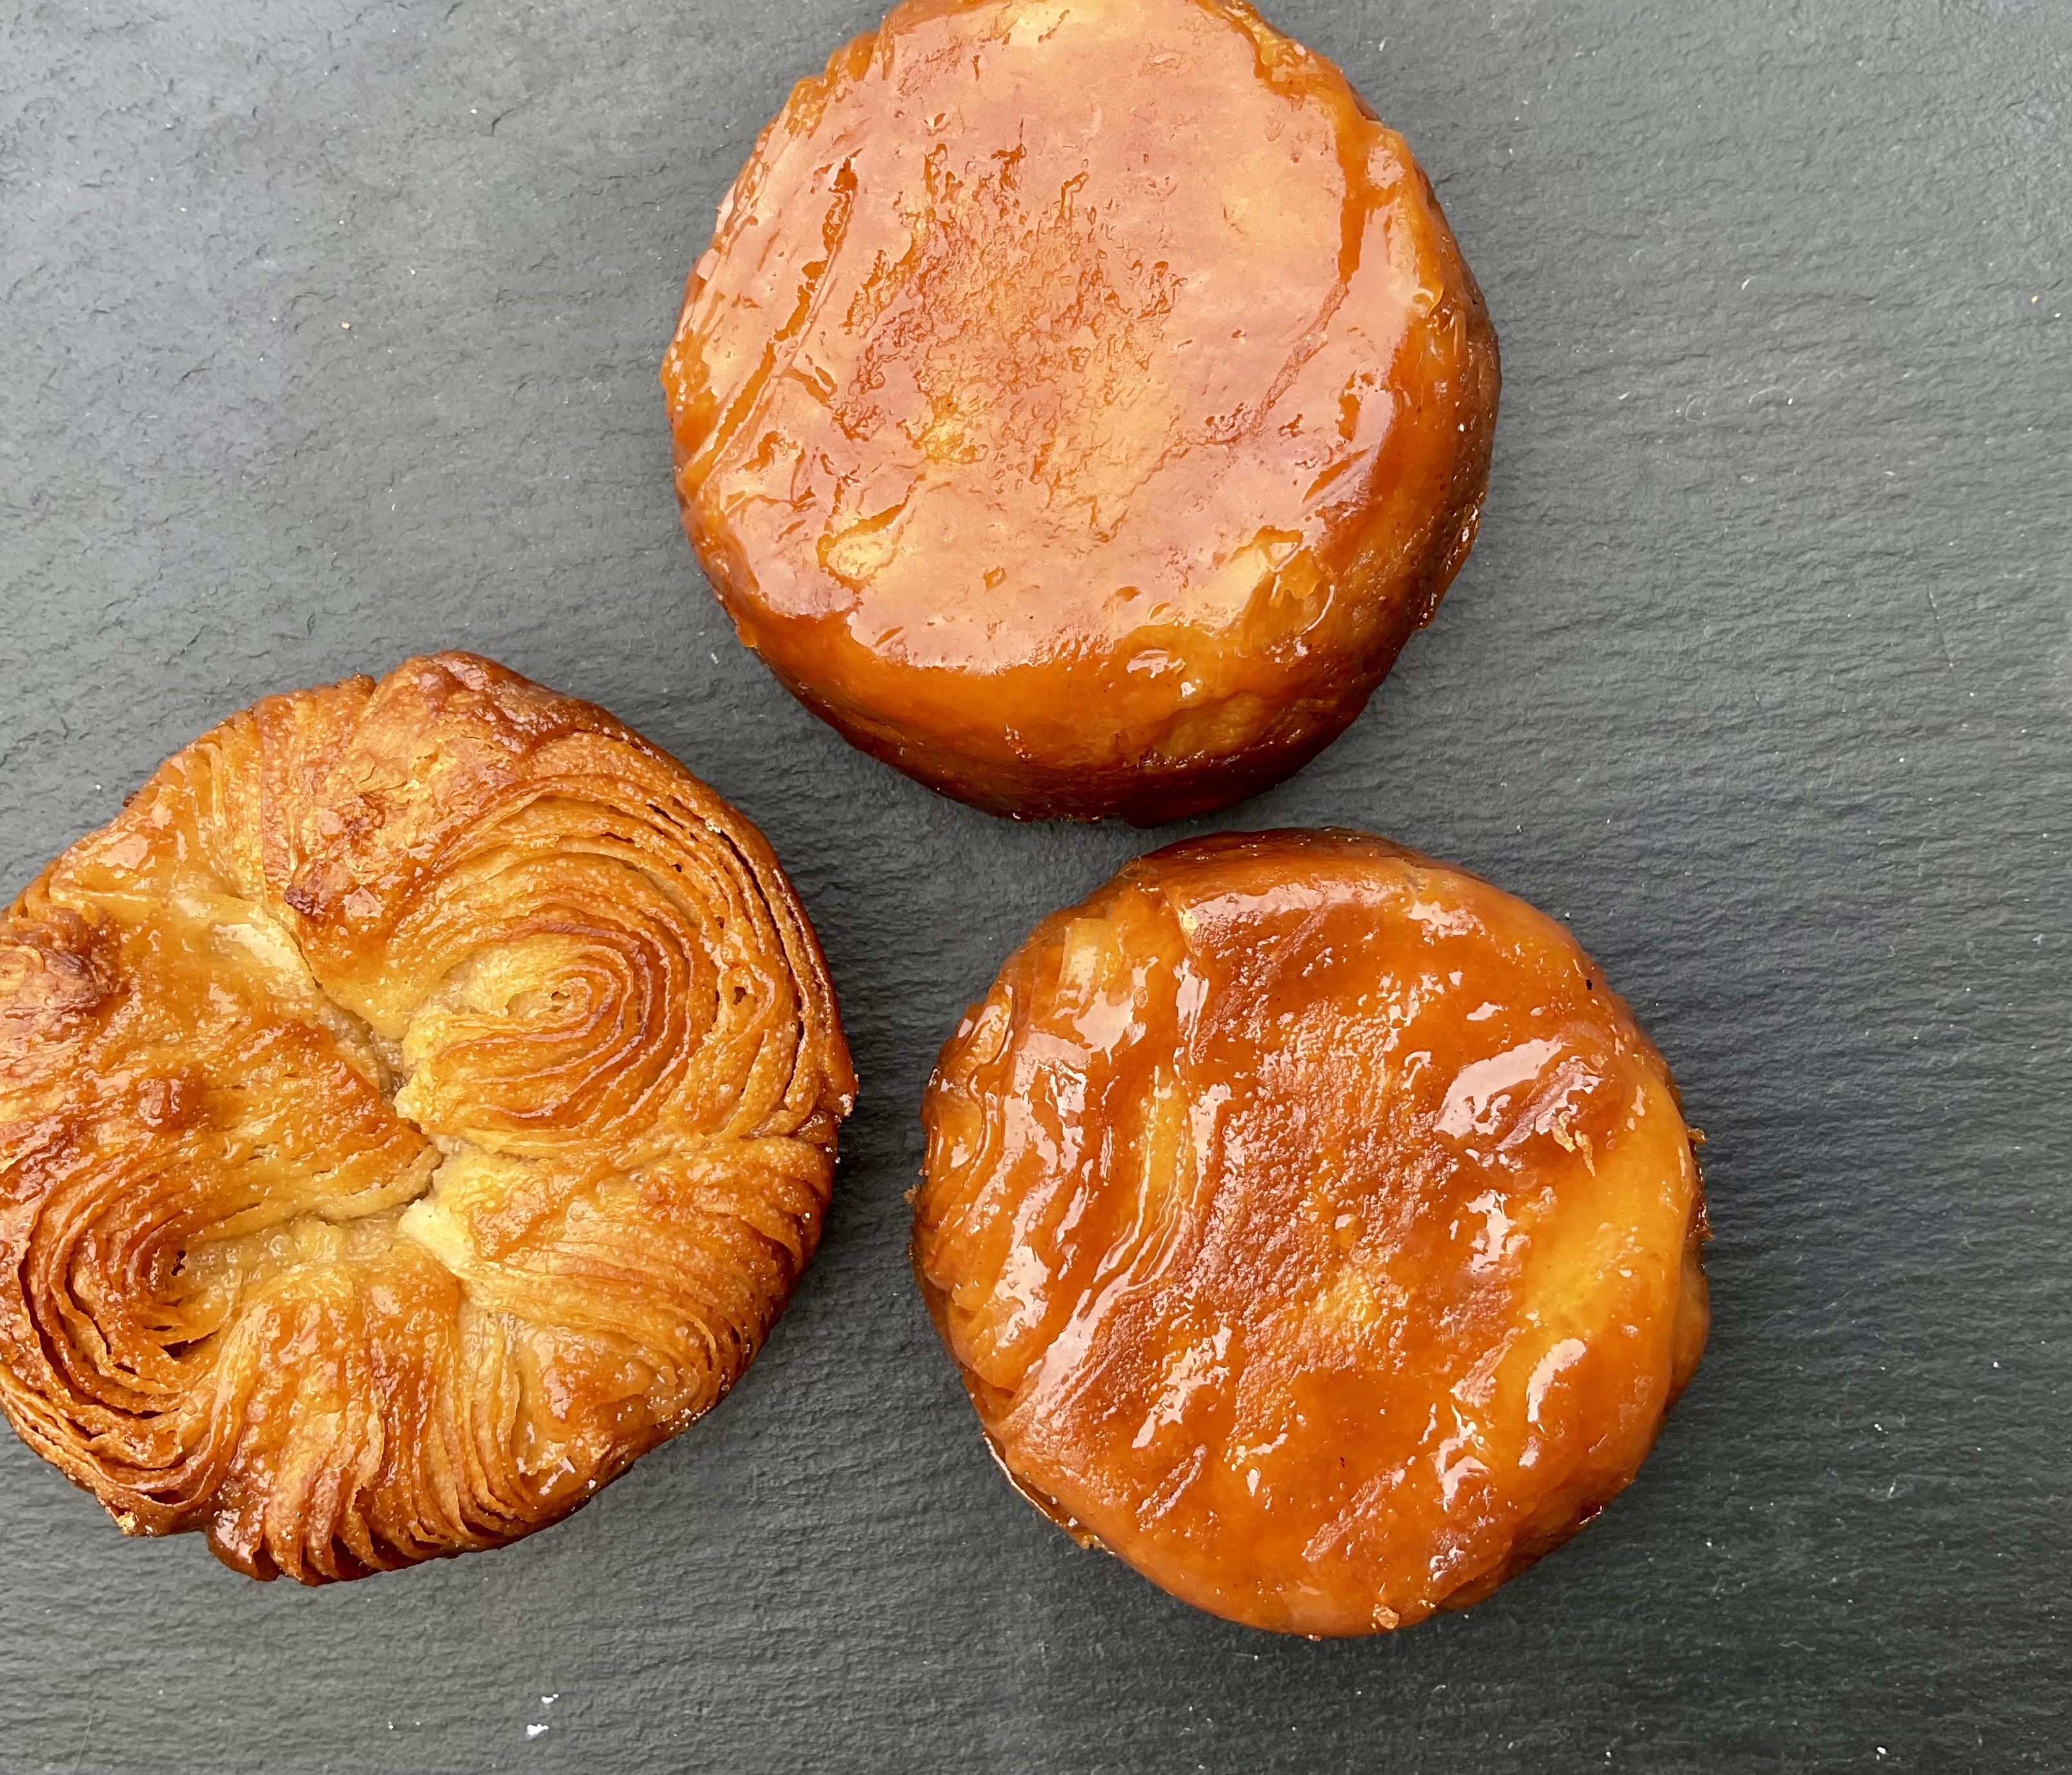
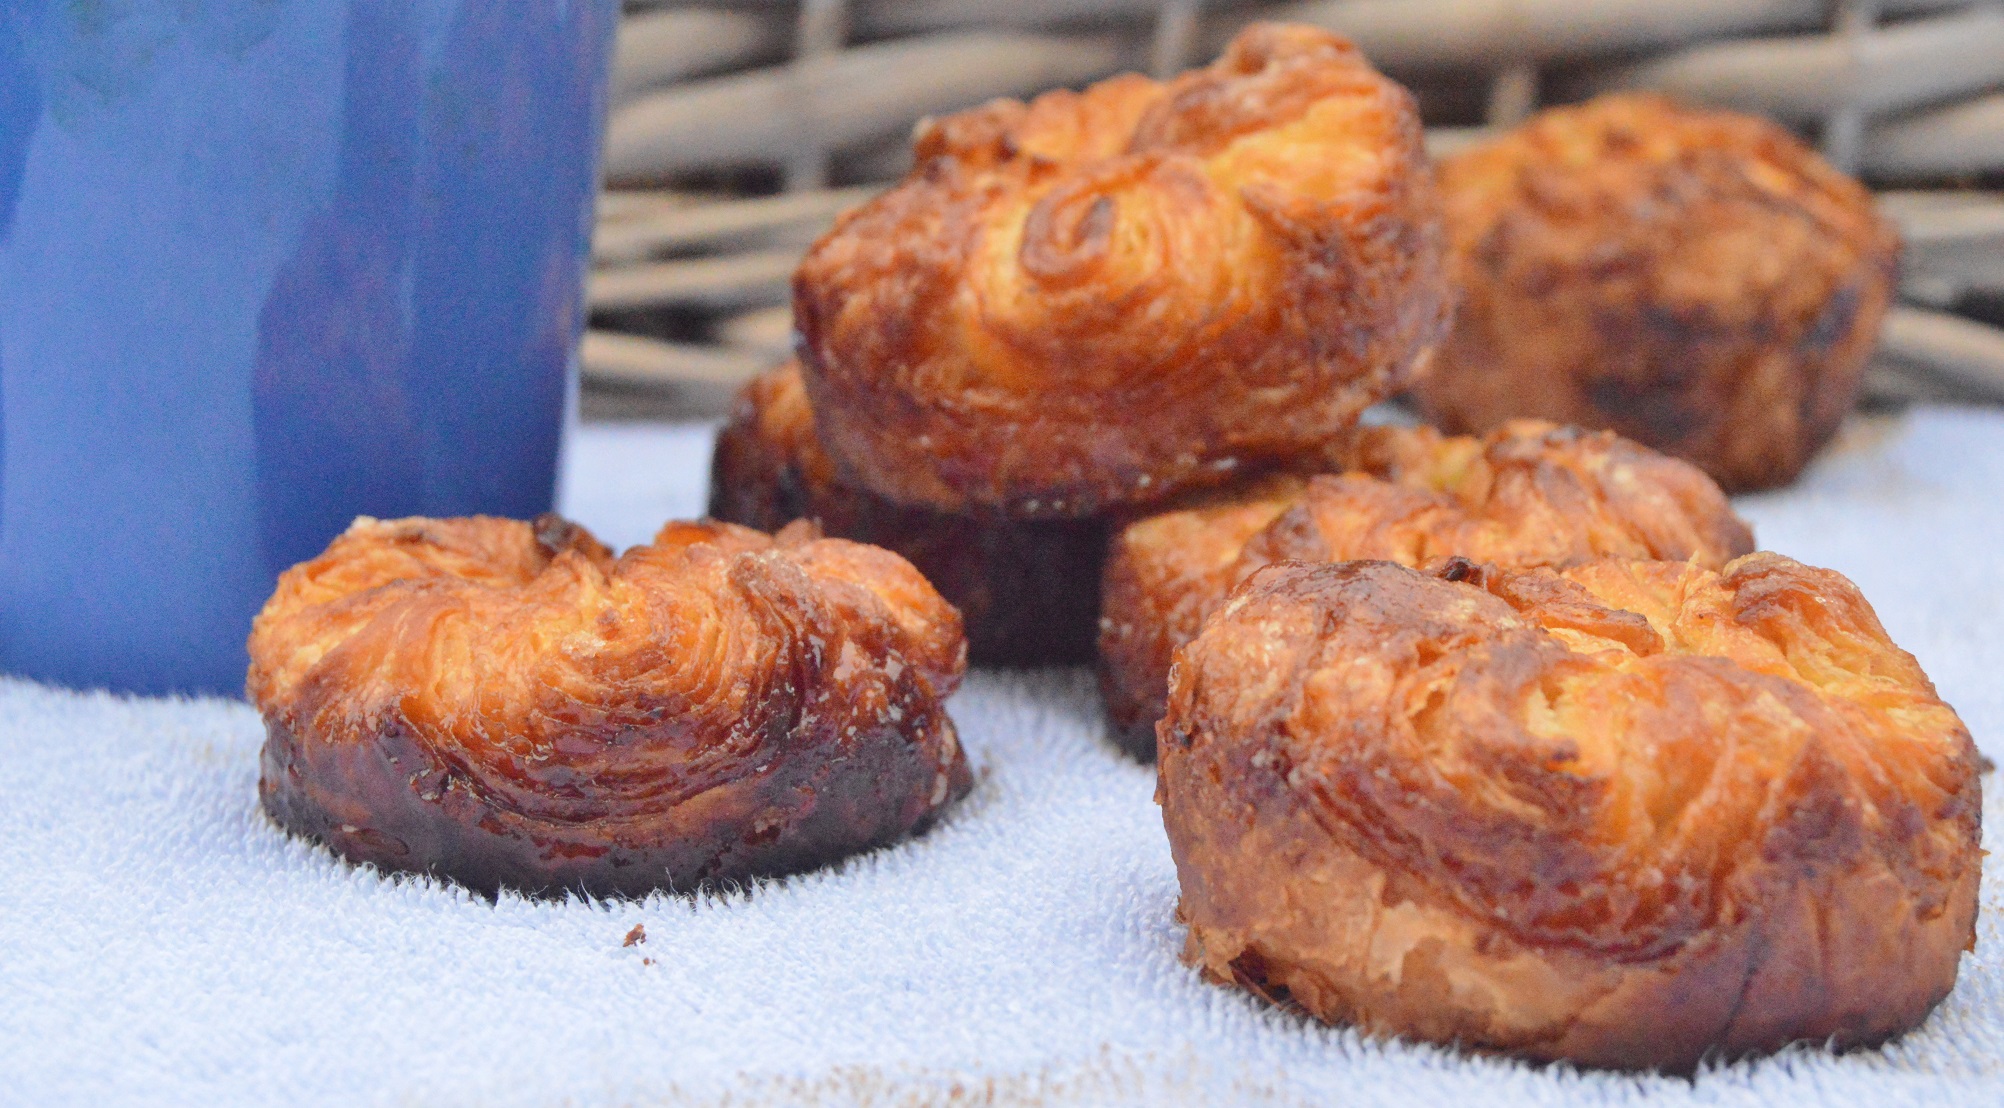
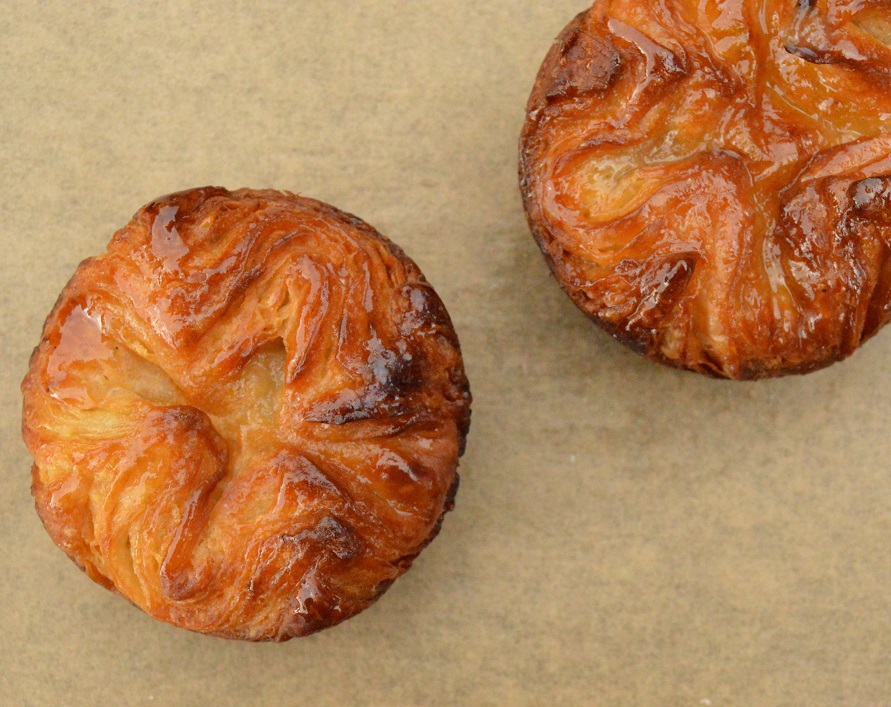
This is my version of this buttery, caramelised pastry, Kouign-amann: roughly pronounced “queen ah-marn”. Oh, and these really are truly buttery and flaky, with a nice salty kick and terrific caramelisation all over.
Updated August 2023: additional photos
I have been making Kouign-amann on and off for about 20 years, after trying my first one in Brittany and being instantly mesmerised.
With the resting and chilling, these take a while to make, but there is very little hands-on time.
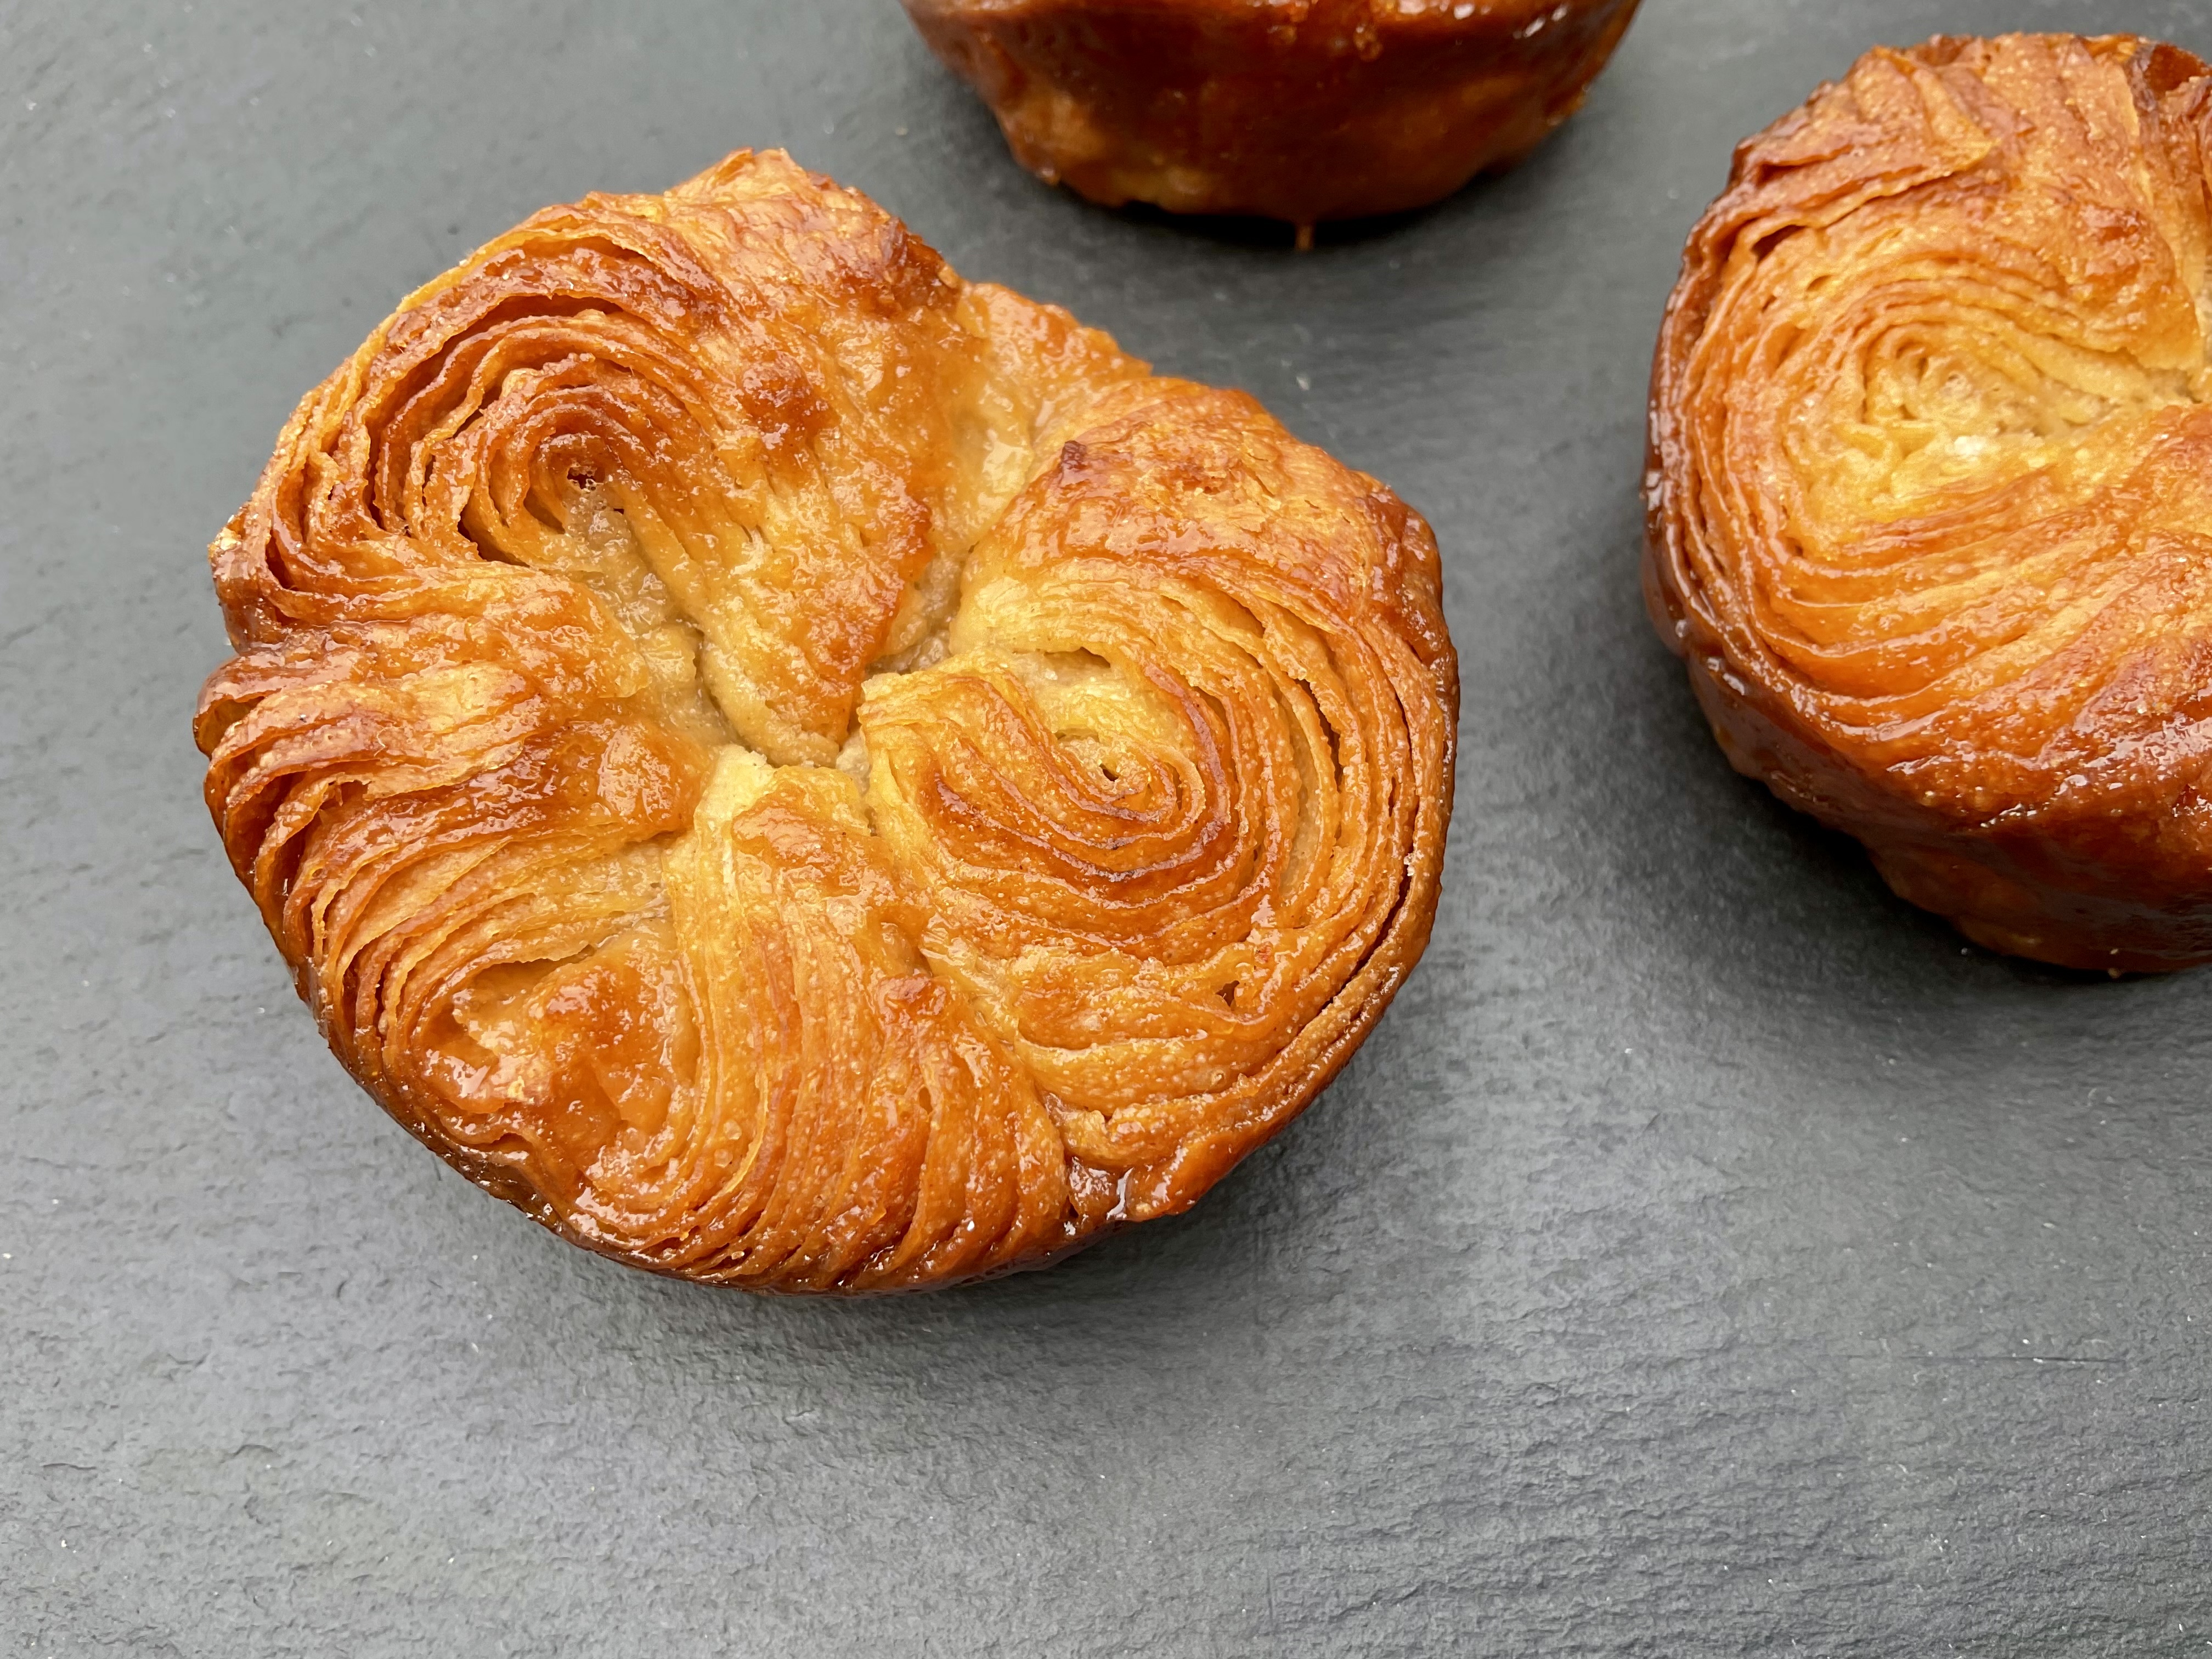
Essentially, you make a croissant dough (I go for just two turns here) but sugar is incorporated in the final turn when making the dough and then liberally sprinkled all over so you get terrific caramelisation.
I now tend to make a small amount of dough which is more manageable. This makes about 8 Kouign-amann, but you can double up the recipe.

The freezer really is your friend: short blasts in there chill the dough and butter enough to make it easier to roll.
With all the butter and sugar, this is really not a pastry to eat if you are dieting. And when you do eat one, just don’t think about the calories!

Which tins to use?
These can be baked in small buttered deep muffin tins or metal rings. You can even bake them in mini foil tins.
If using metal rings, scrunch a small piece of greaseproof or foil at the base of each ring to keep in the butter as they bake (well, almost fry!): this also ensures the baked Kouign-amann will not be dry inside. However, if any butter does escape, spoon it over the tops of the pastries along with any runny caramel when they come out of the oven.
Different flavours

I’ve also given suggestions for a few different flavours for Kouign-Amann below the recipe.
Recipe: Kouign-amann (makes 8)
Main dough:
- 170g strong plain flour
- 20g caster sugar
- 20g soft butter, ideally lightly salted
- 4g fine sea salt
- 5g instant yeast
- 80-90ml water (or a mixture of milk and water: including milk will give a softer crumb inside)
To laminate:
- 140g lightly salted butter
Sugar & salt mixture (for final “turn” & dusting):
- about 120g caster sugar
- 1 teaspoon fine sea salt
You also need metal rings and a solid baking tray or deep muffin tins: liberally buttered and dusted with sugar.
Make the dough:
(1) Mix together the flour, salt, yeast, the 20g soft butter and the 20g caster sugar in a bowl. Add most of the water/milk, stirring gently until it forms a dough, adding more water if necessary: you don’t want it sticky so add any extra water a little at a time.
(2) Knead on a slightly floured surface for about 5 minutes or until smooth. Alternatively, pop all these ingredients into a food mixer and use the dough hook on a low to medium speed for 5-10 minutes.
NB: you want it to hold its shape without tearing here ie) a bit of gluten development, but it will develop with the turns later.
(3) Wrap the dough and leave at room temperature for about a hour or so.
NB: this allows the yeast to activate and get the flavour going. It will rise a bit but it really doesn’t have to rise too much. Alternatively, put the dough in the fridge overnight to enhance the flavour even further.
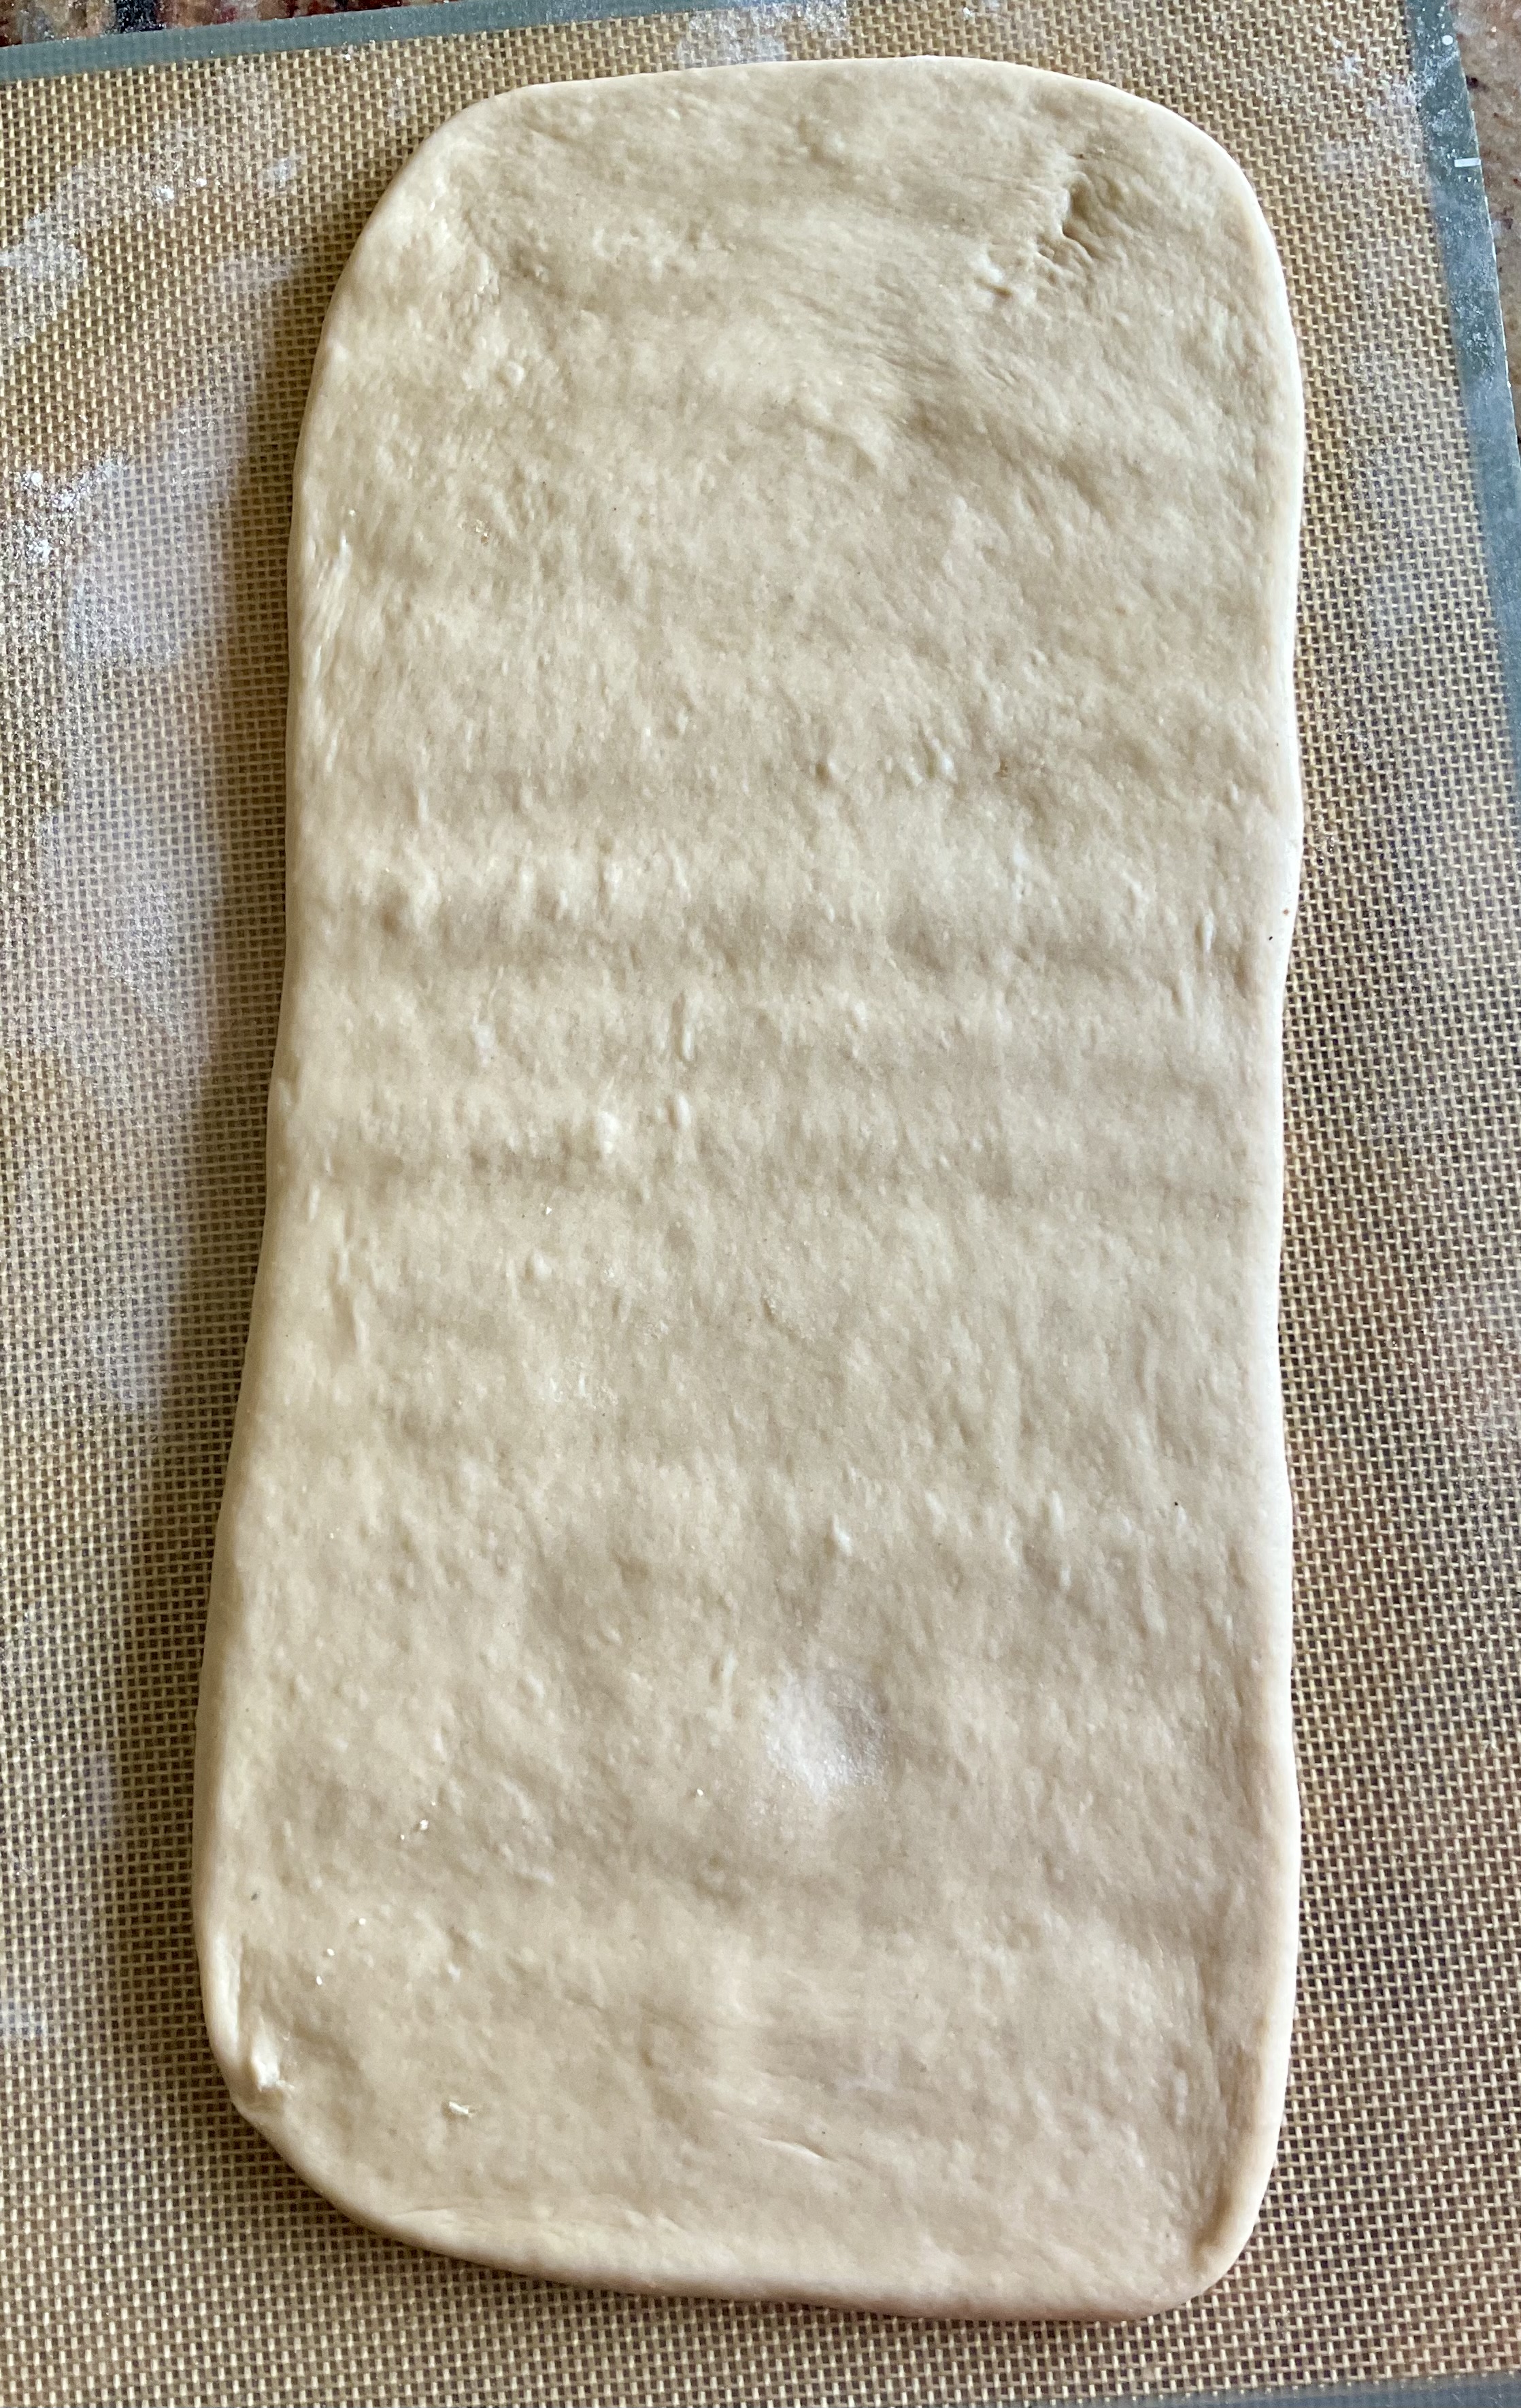
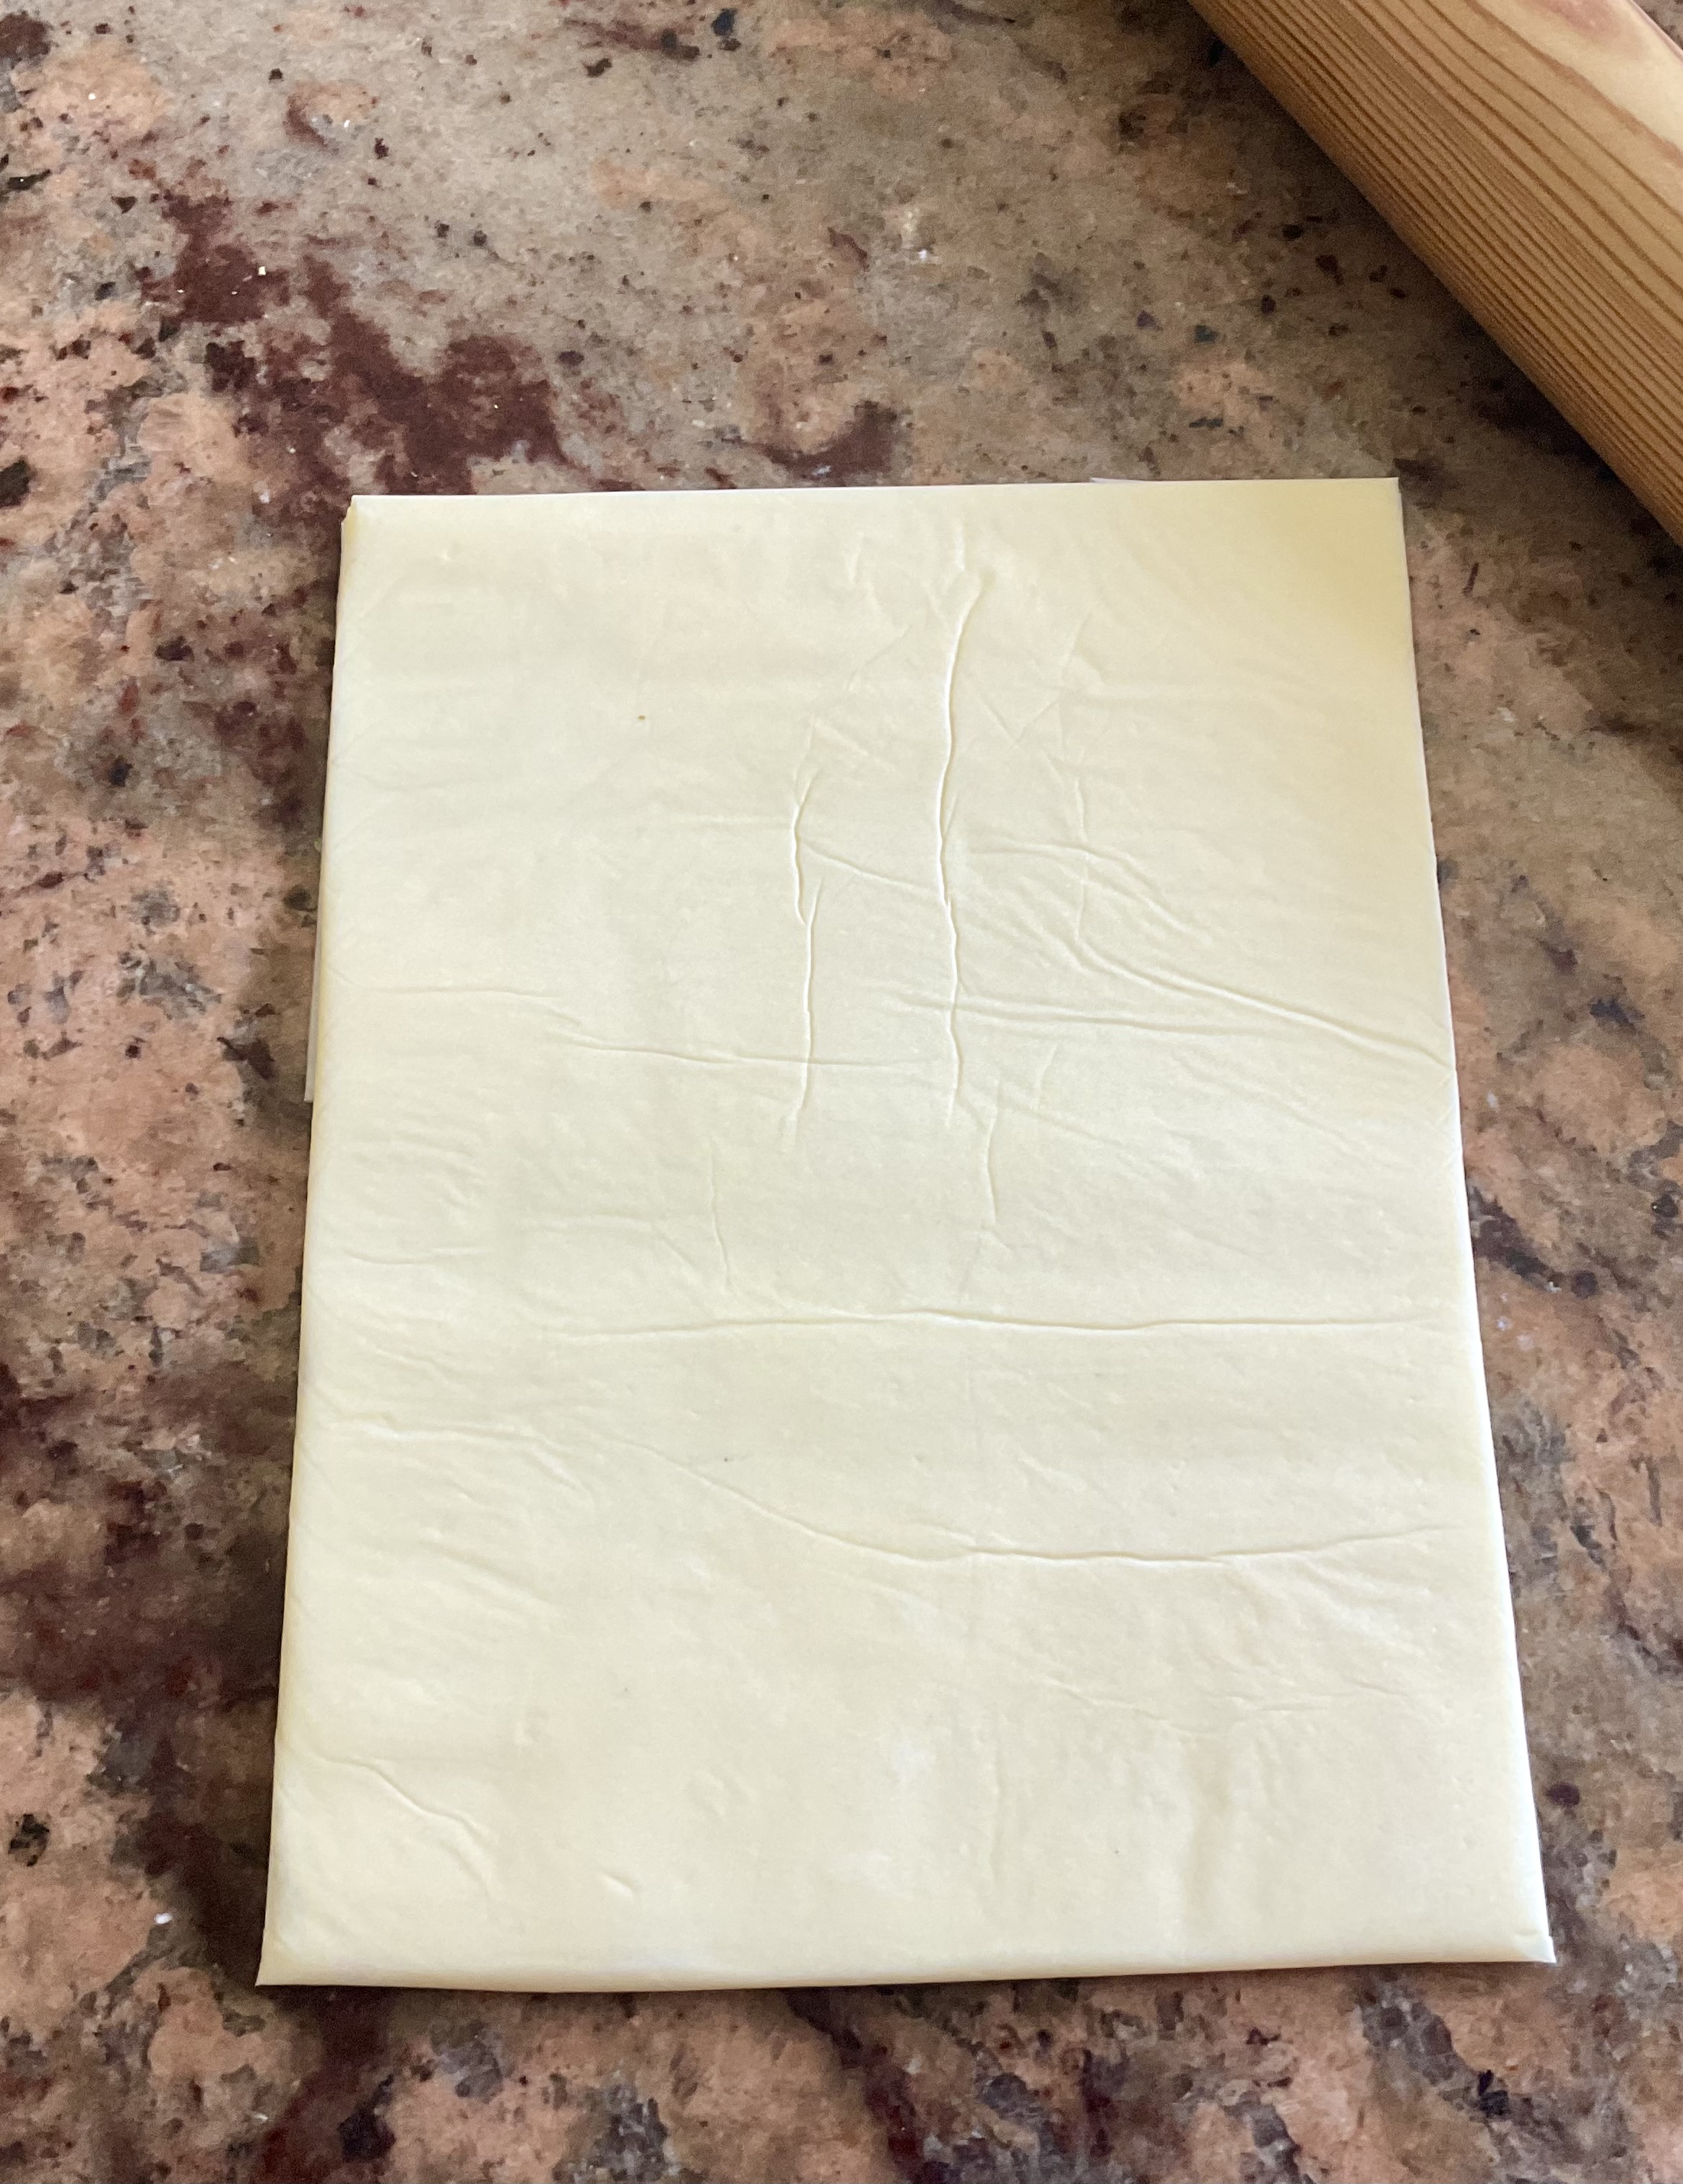
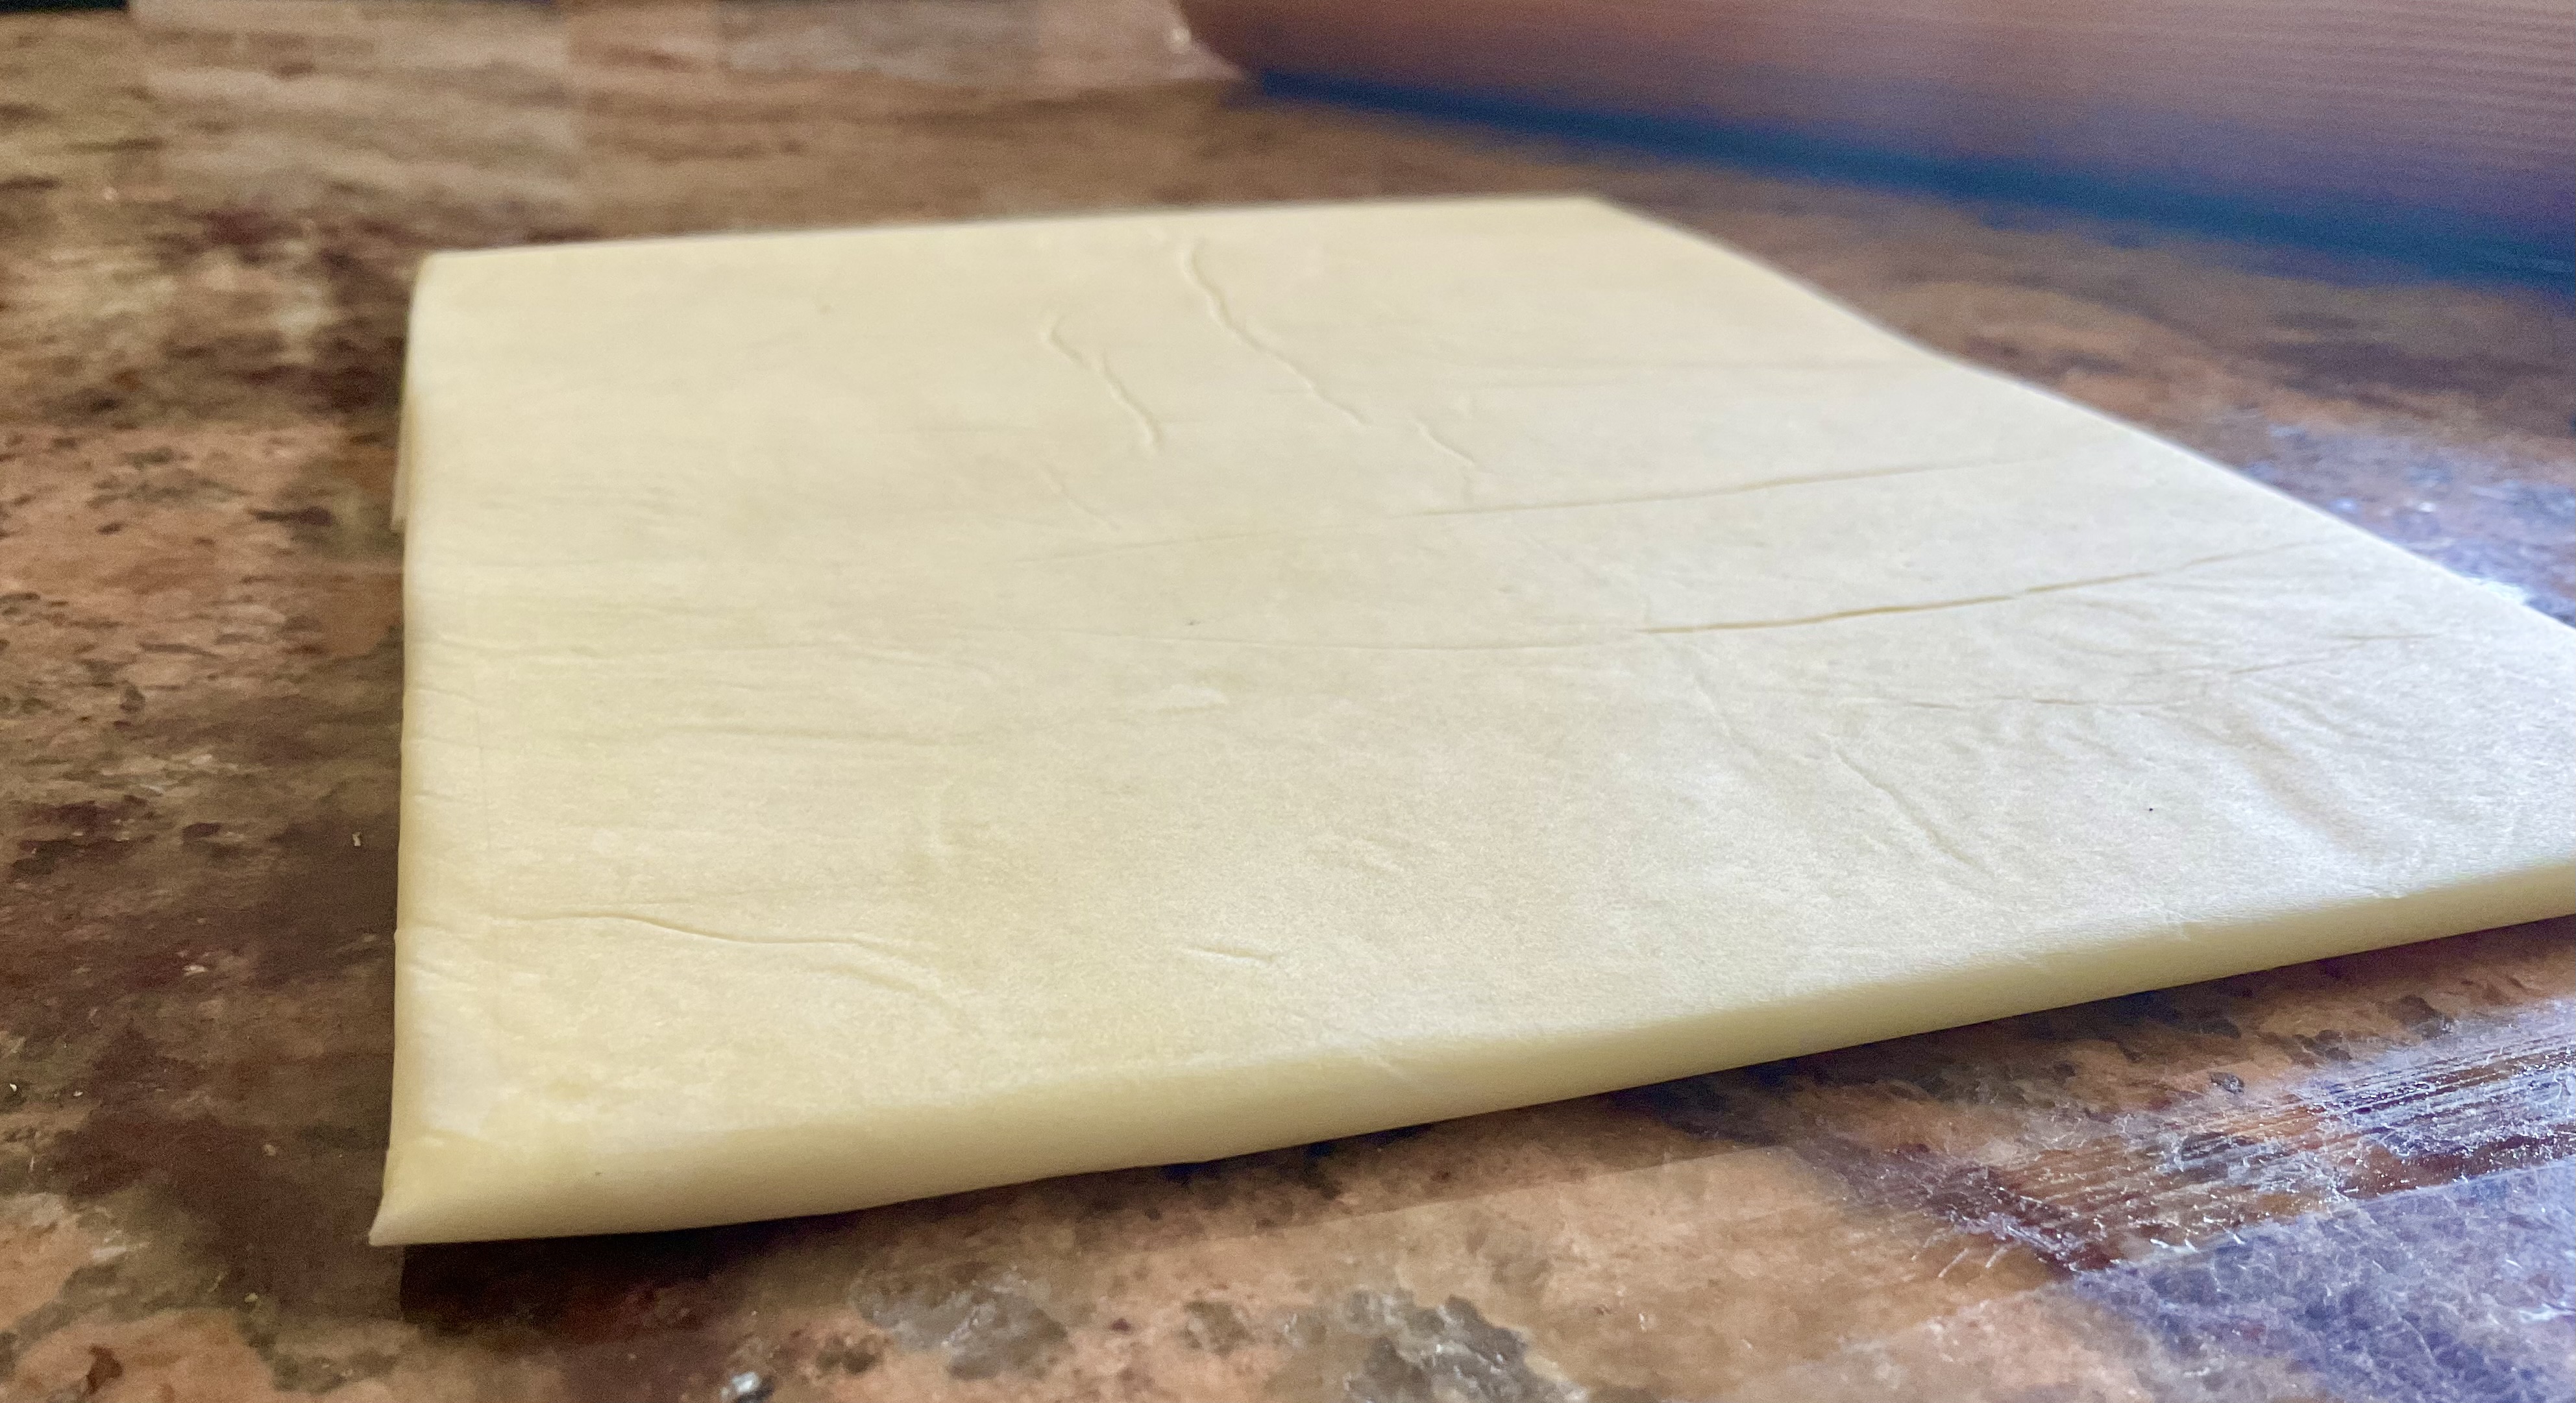
(4) Pat down the dough to deflate it and turn it onto a lightly floured surface. Roll out to a rough rectangle about 15cm by 40cm, which will be very easy to do at this stage. It doesn’t have to be perfect at this stage. Cover with clingfilm and put in the freezer for about 15 minutes and then in the fridge for up to a hour.
NB: the freezing ensures the yeast will not develop any more until after shaping when you want the dough to rise.
(5) While the dough is chilling, shape the butter to a rectangle about 15cm by 20cm: it is easiest to wrap it in greaseproof, bash it a bit with the rolling pin and then roll over it as it becomes pliable. Keep it in the fridge until needed, but remove it from the fridge about 10 minutes before using as it needs to be just pliable (but not too soft). If your dough rectangle is in the freezer at this stage, transfer it to the fridge while the butter becomes pliable.
NB: I sometimes go for a square of butter, about 16cm by 16cm – in which case roll out the dough to about 16cm by 32cm.
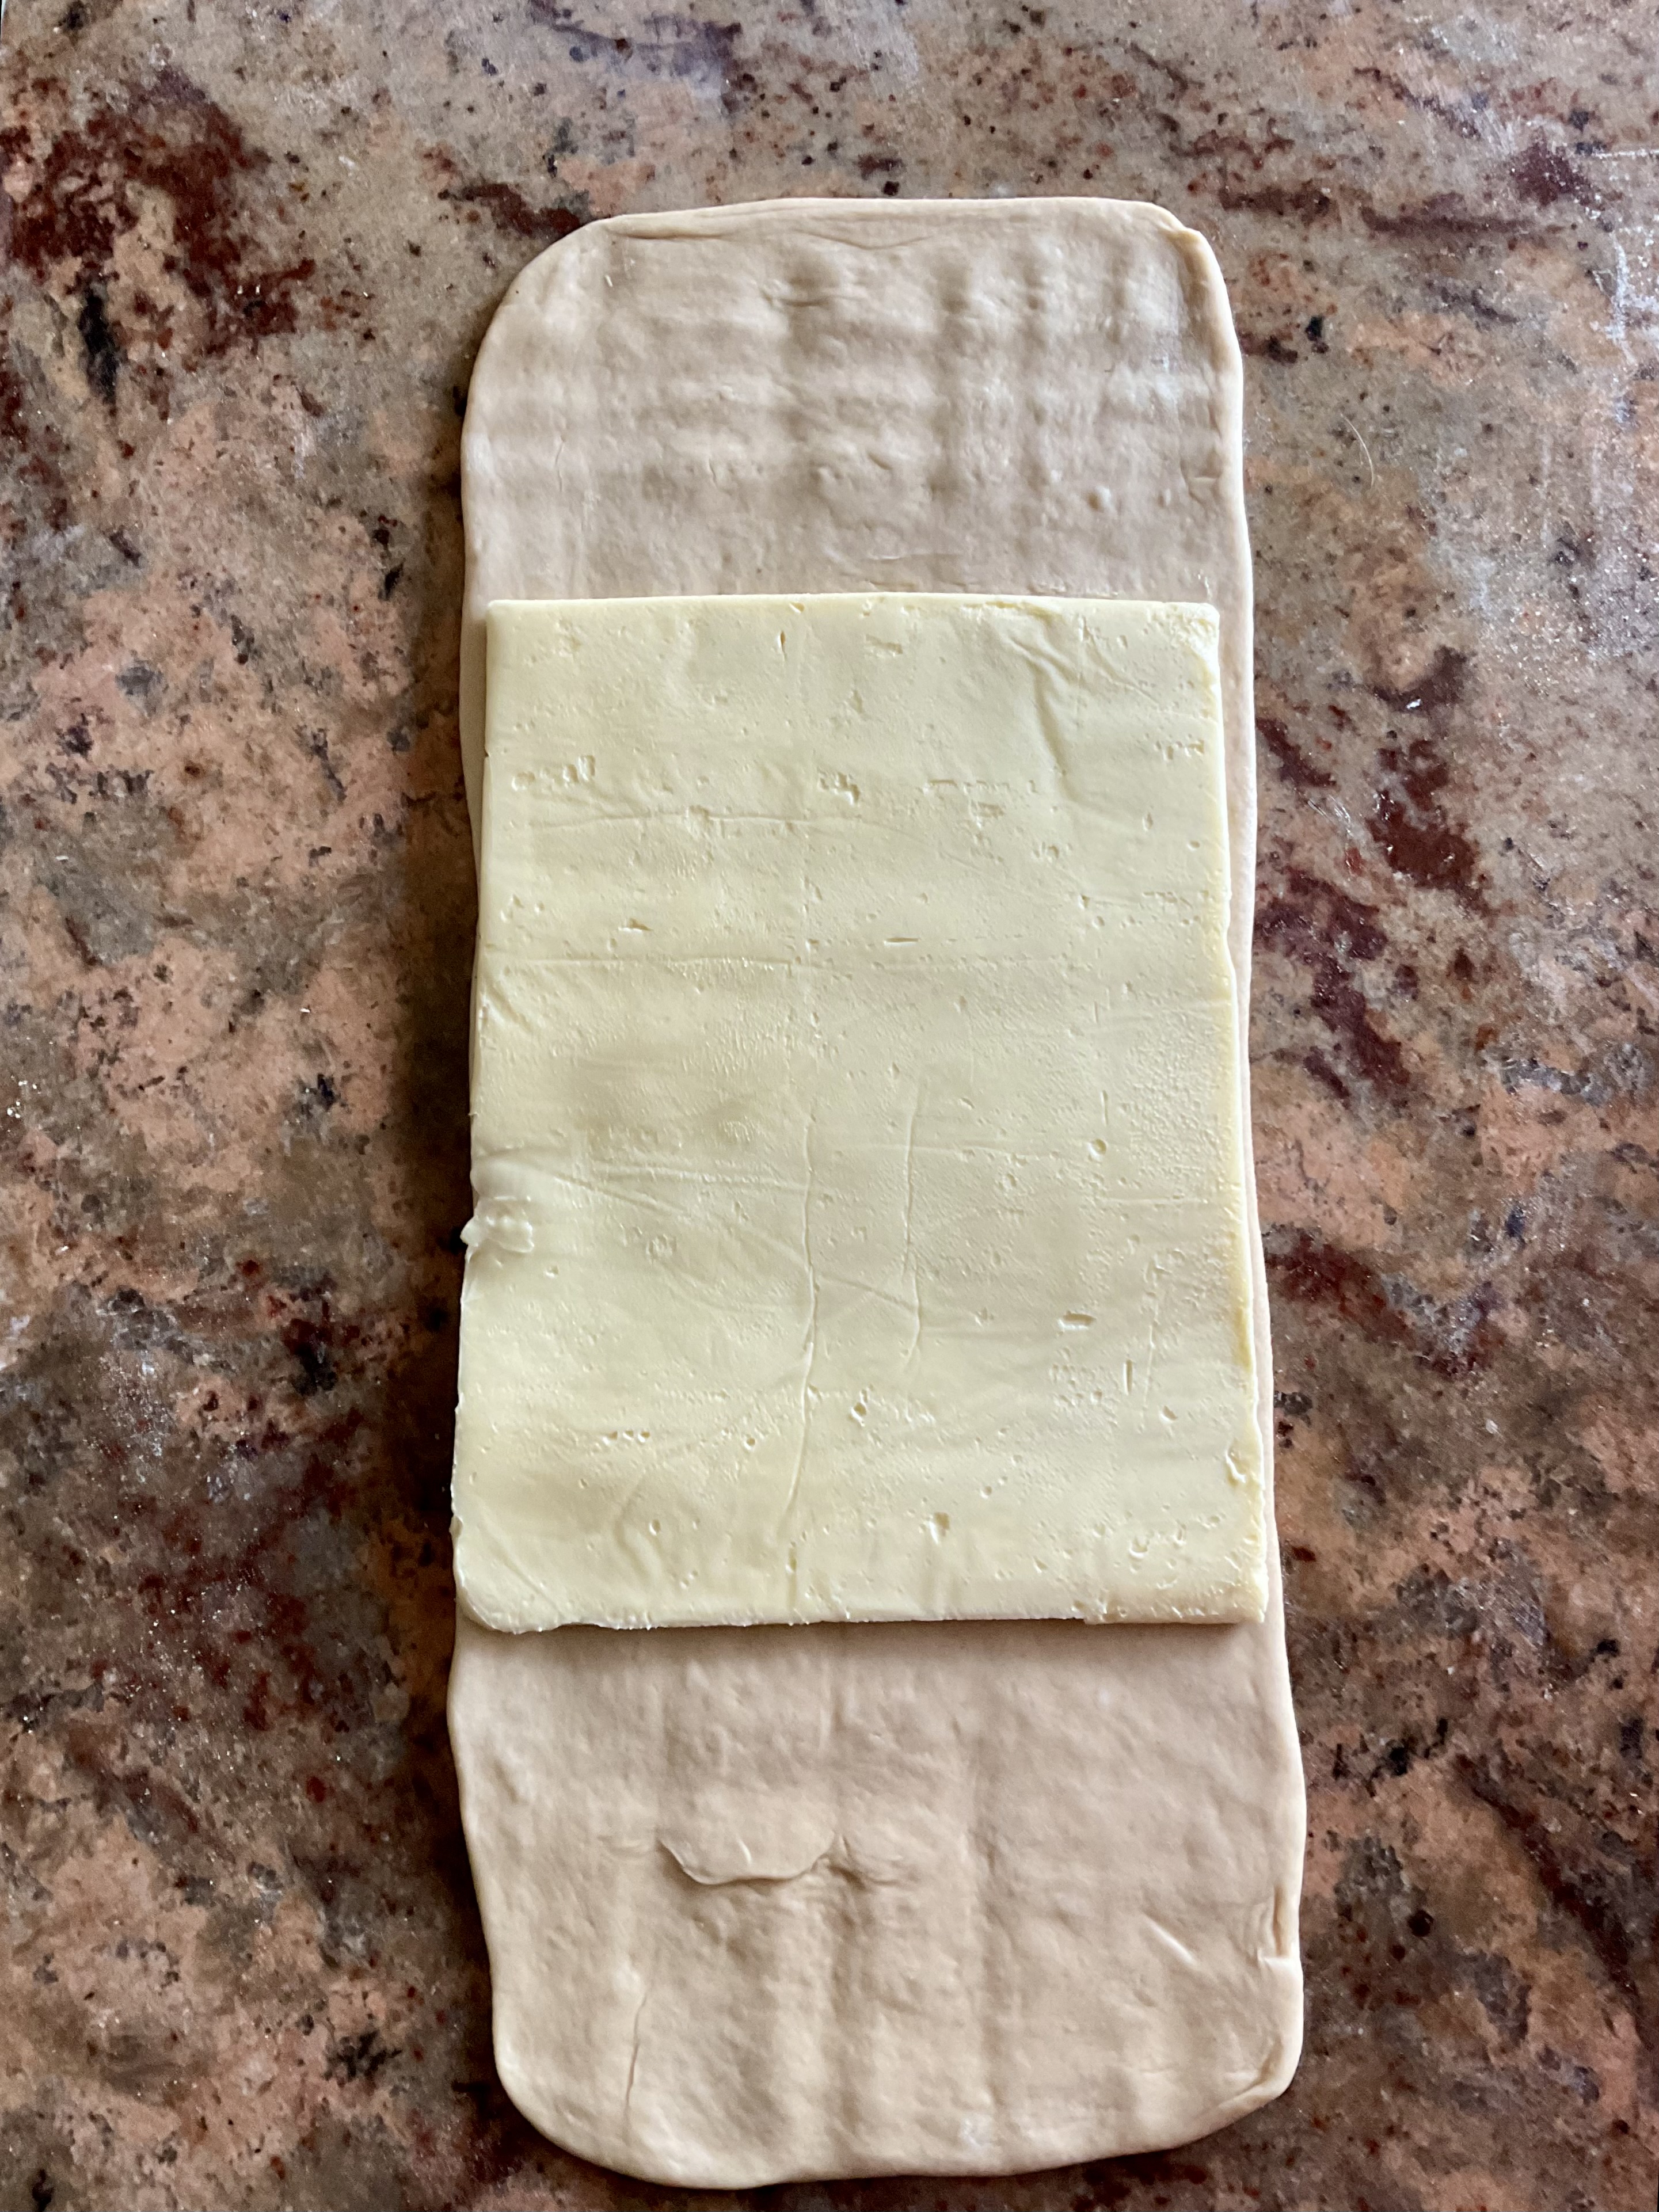
(6) Take the cold rectangle of dough out of the fridge and roll it a little if needed to make sure it is about 15cm by 40cm and this time get the corners as square as you can. Place the butter in the centre. Lift up the exposed dough around the butter, stretching just a little if needed, to enclose the butter. Pinch the seams all round to seal well.
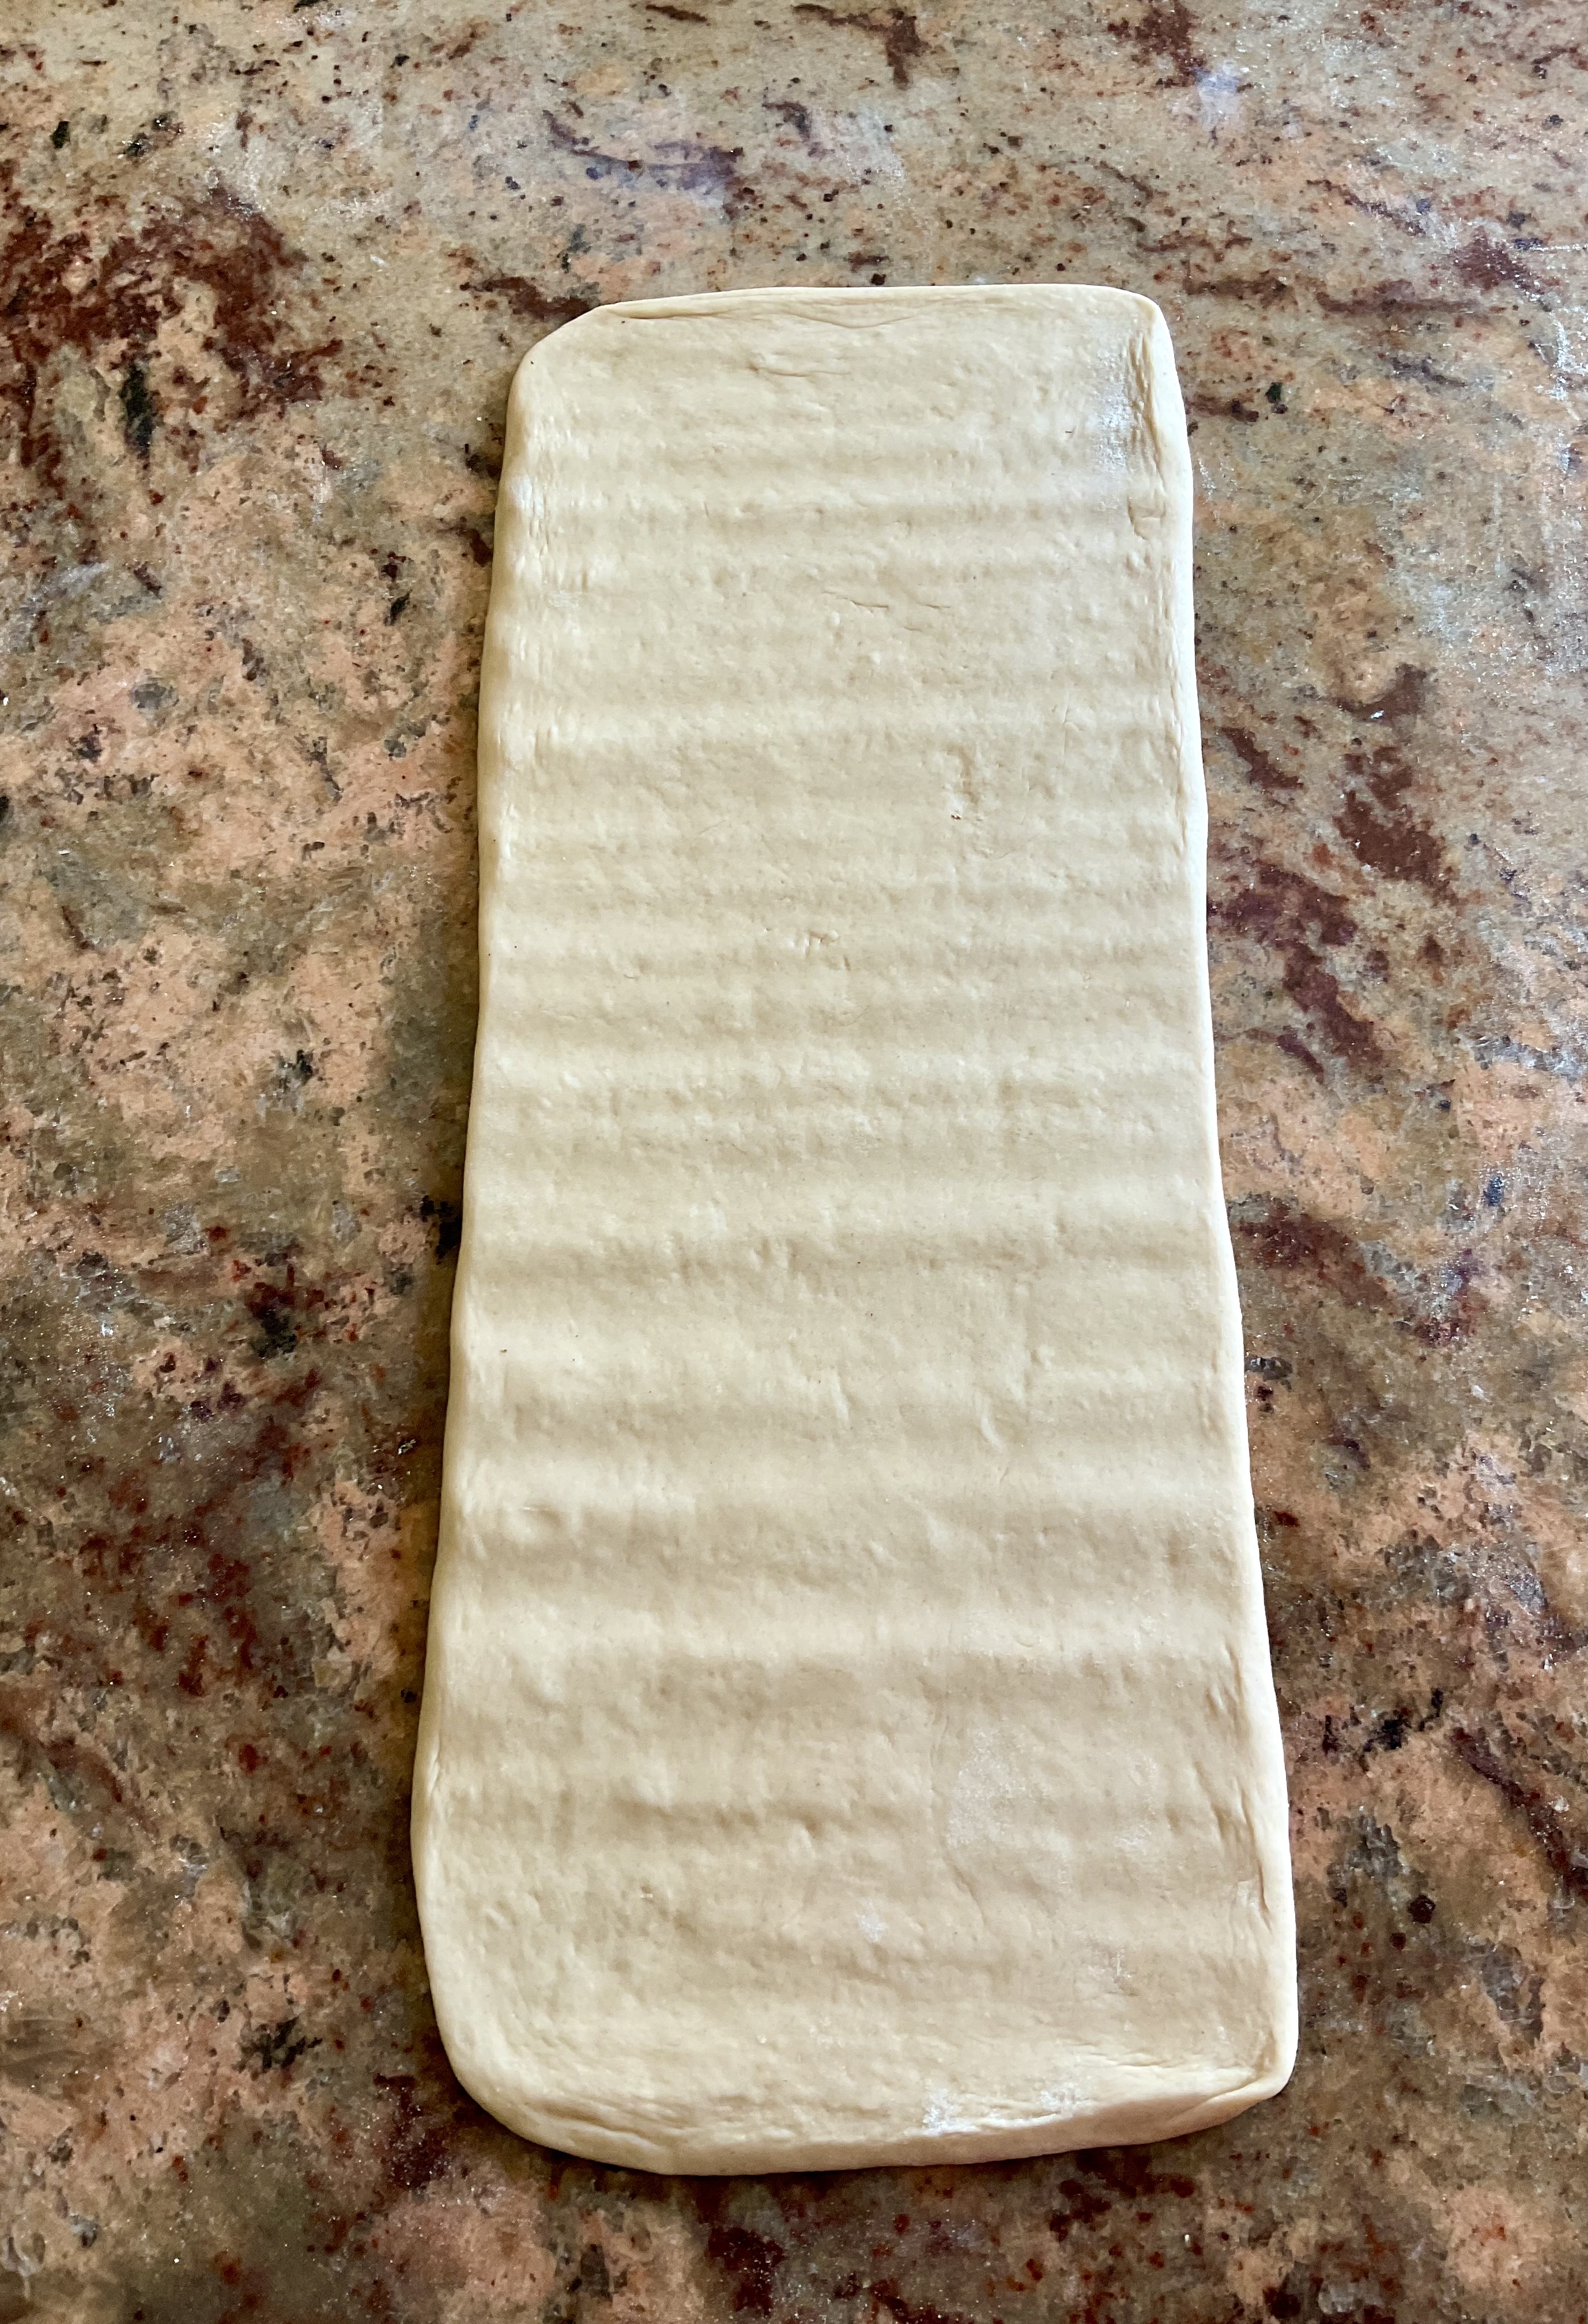
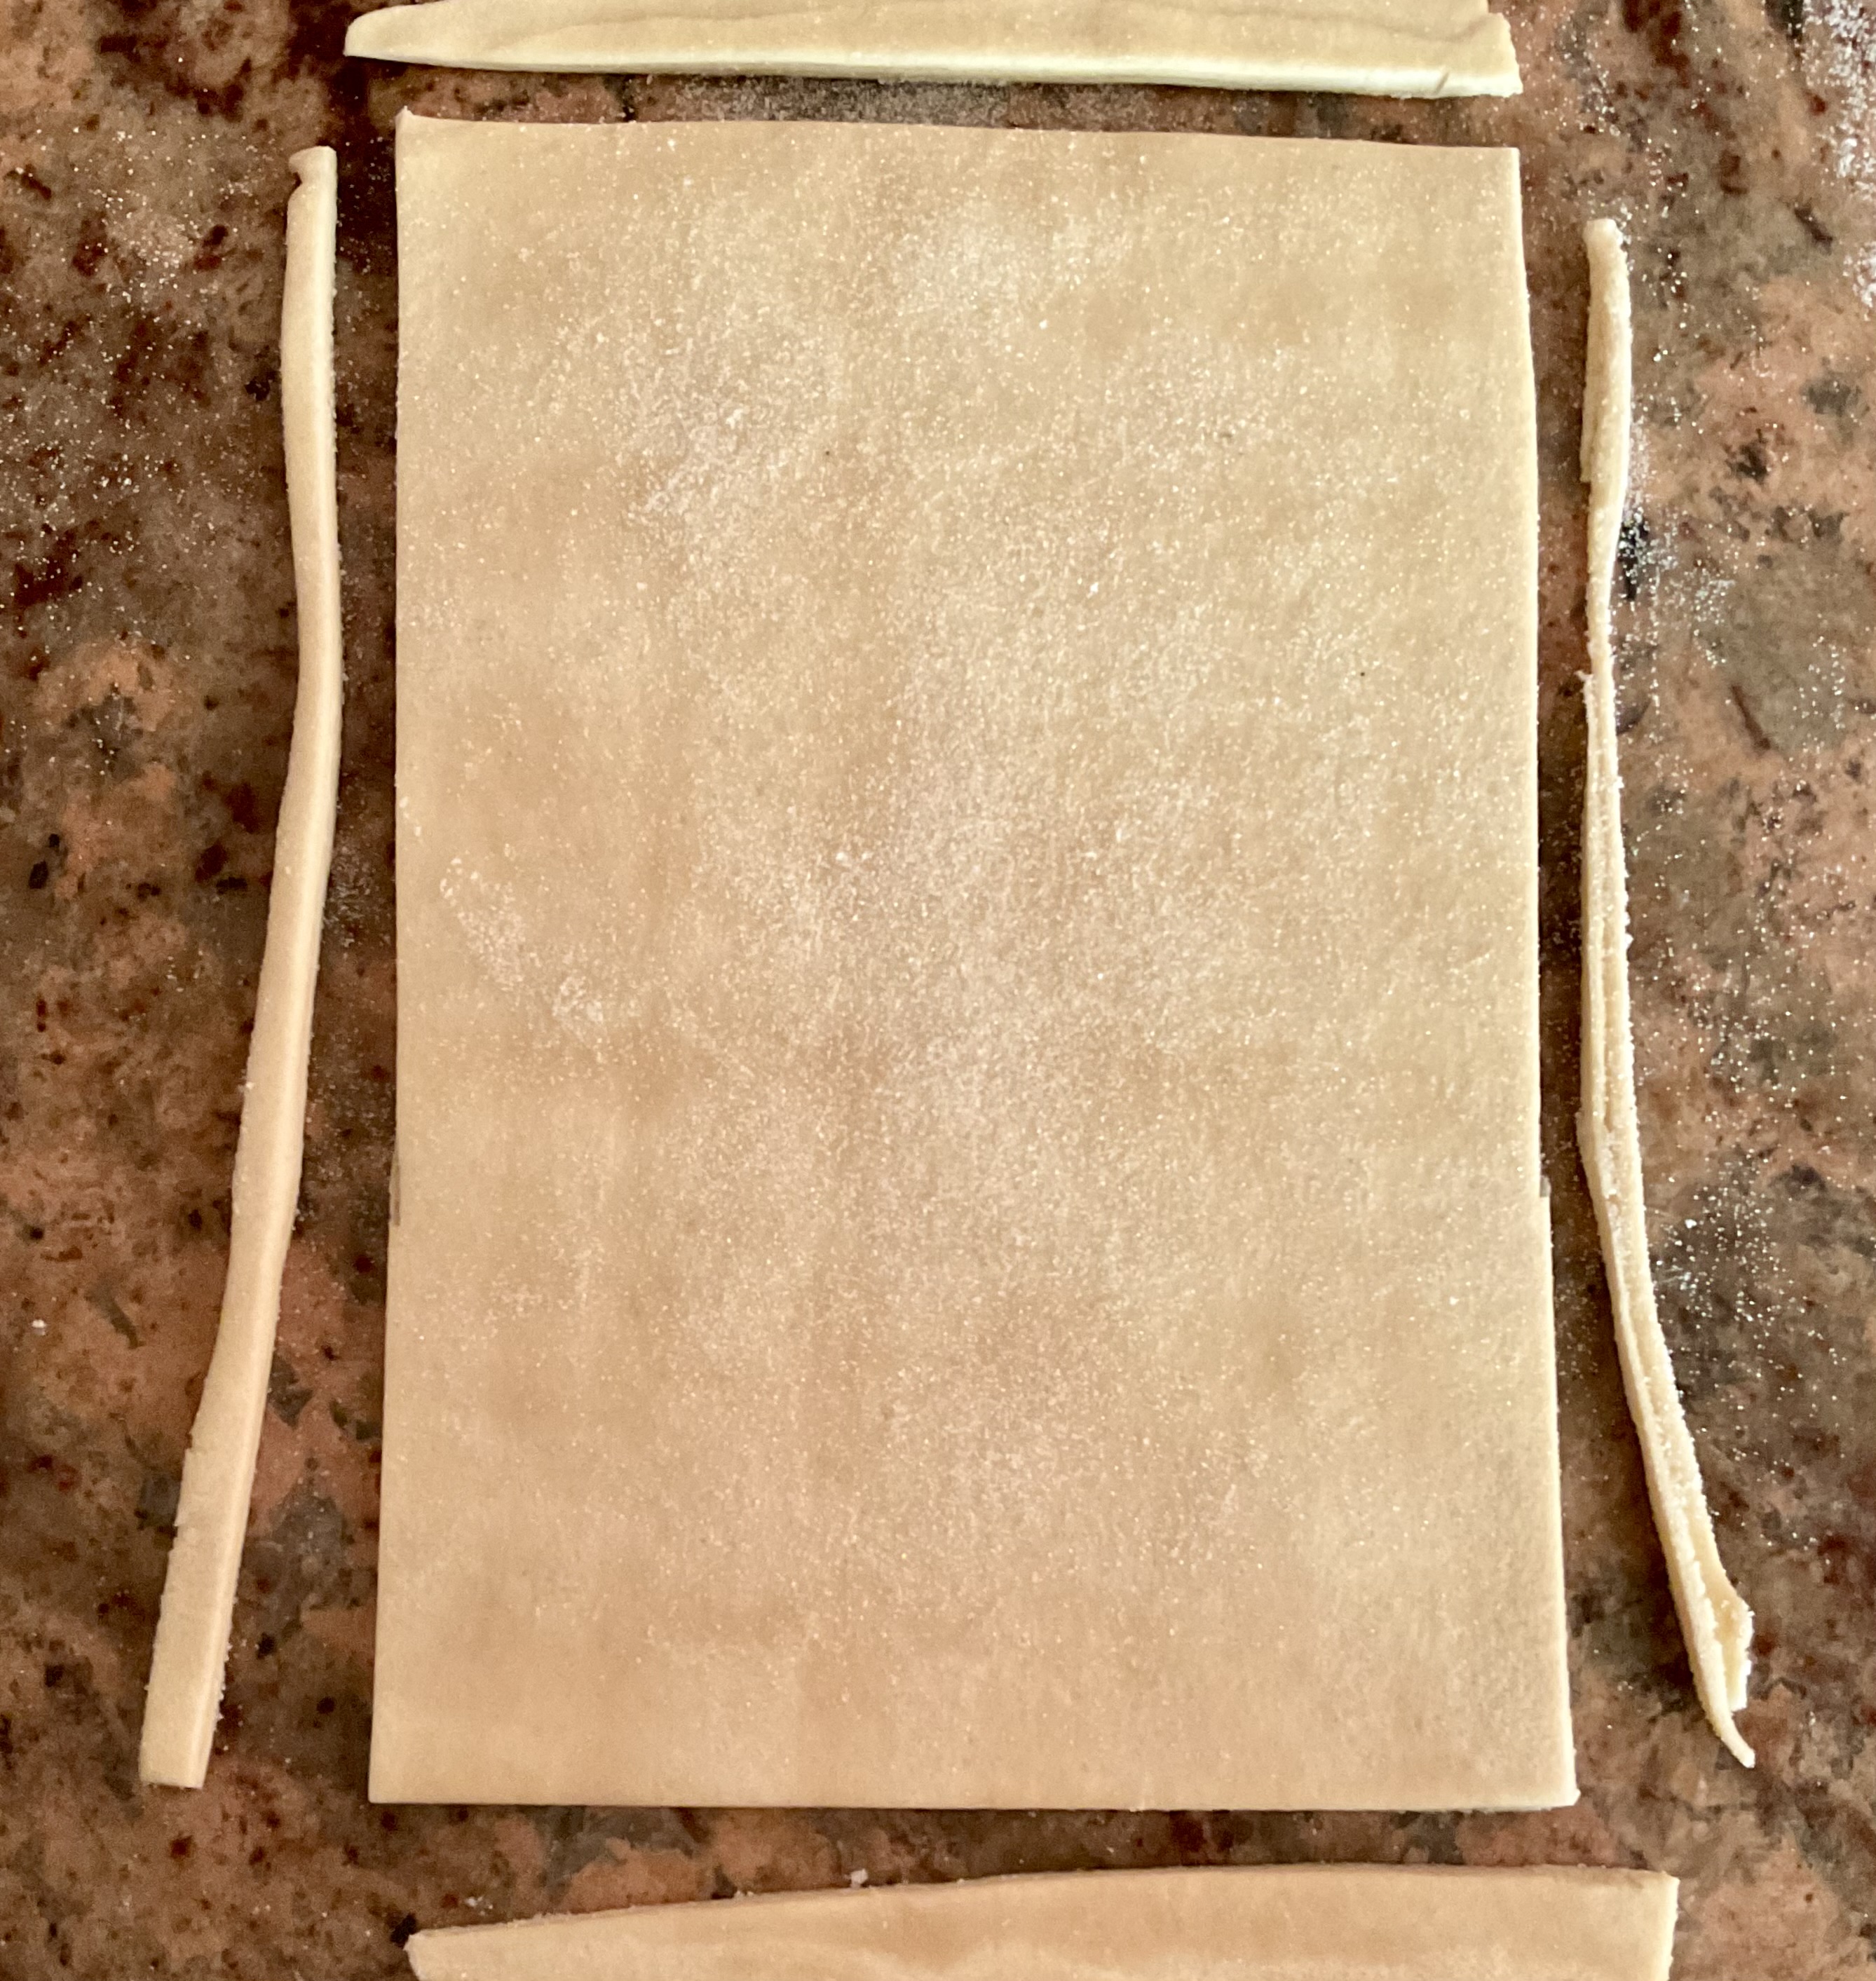
(7) Roll out the dough to a rectangle about 15cm by 40cm again and trim the shortest edges as sometimes there is no butter there, which hinders good lamination.
NB: you can bake these as mini pieces of dough if you wish or freeze them to add to another bread dough for enhanced flavour.
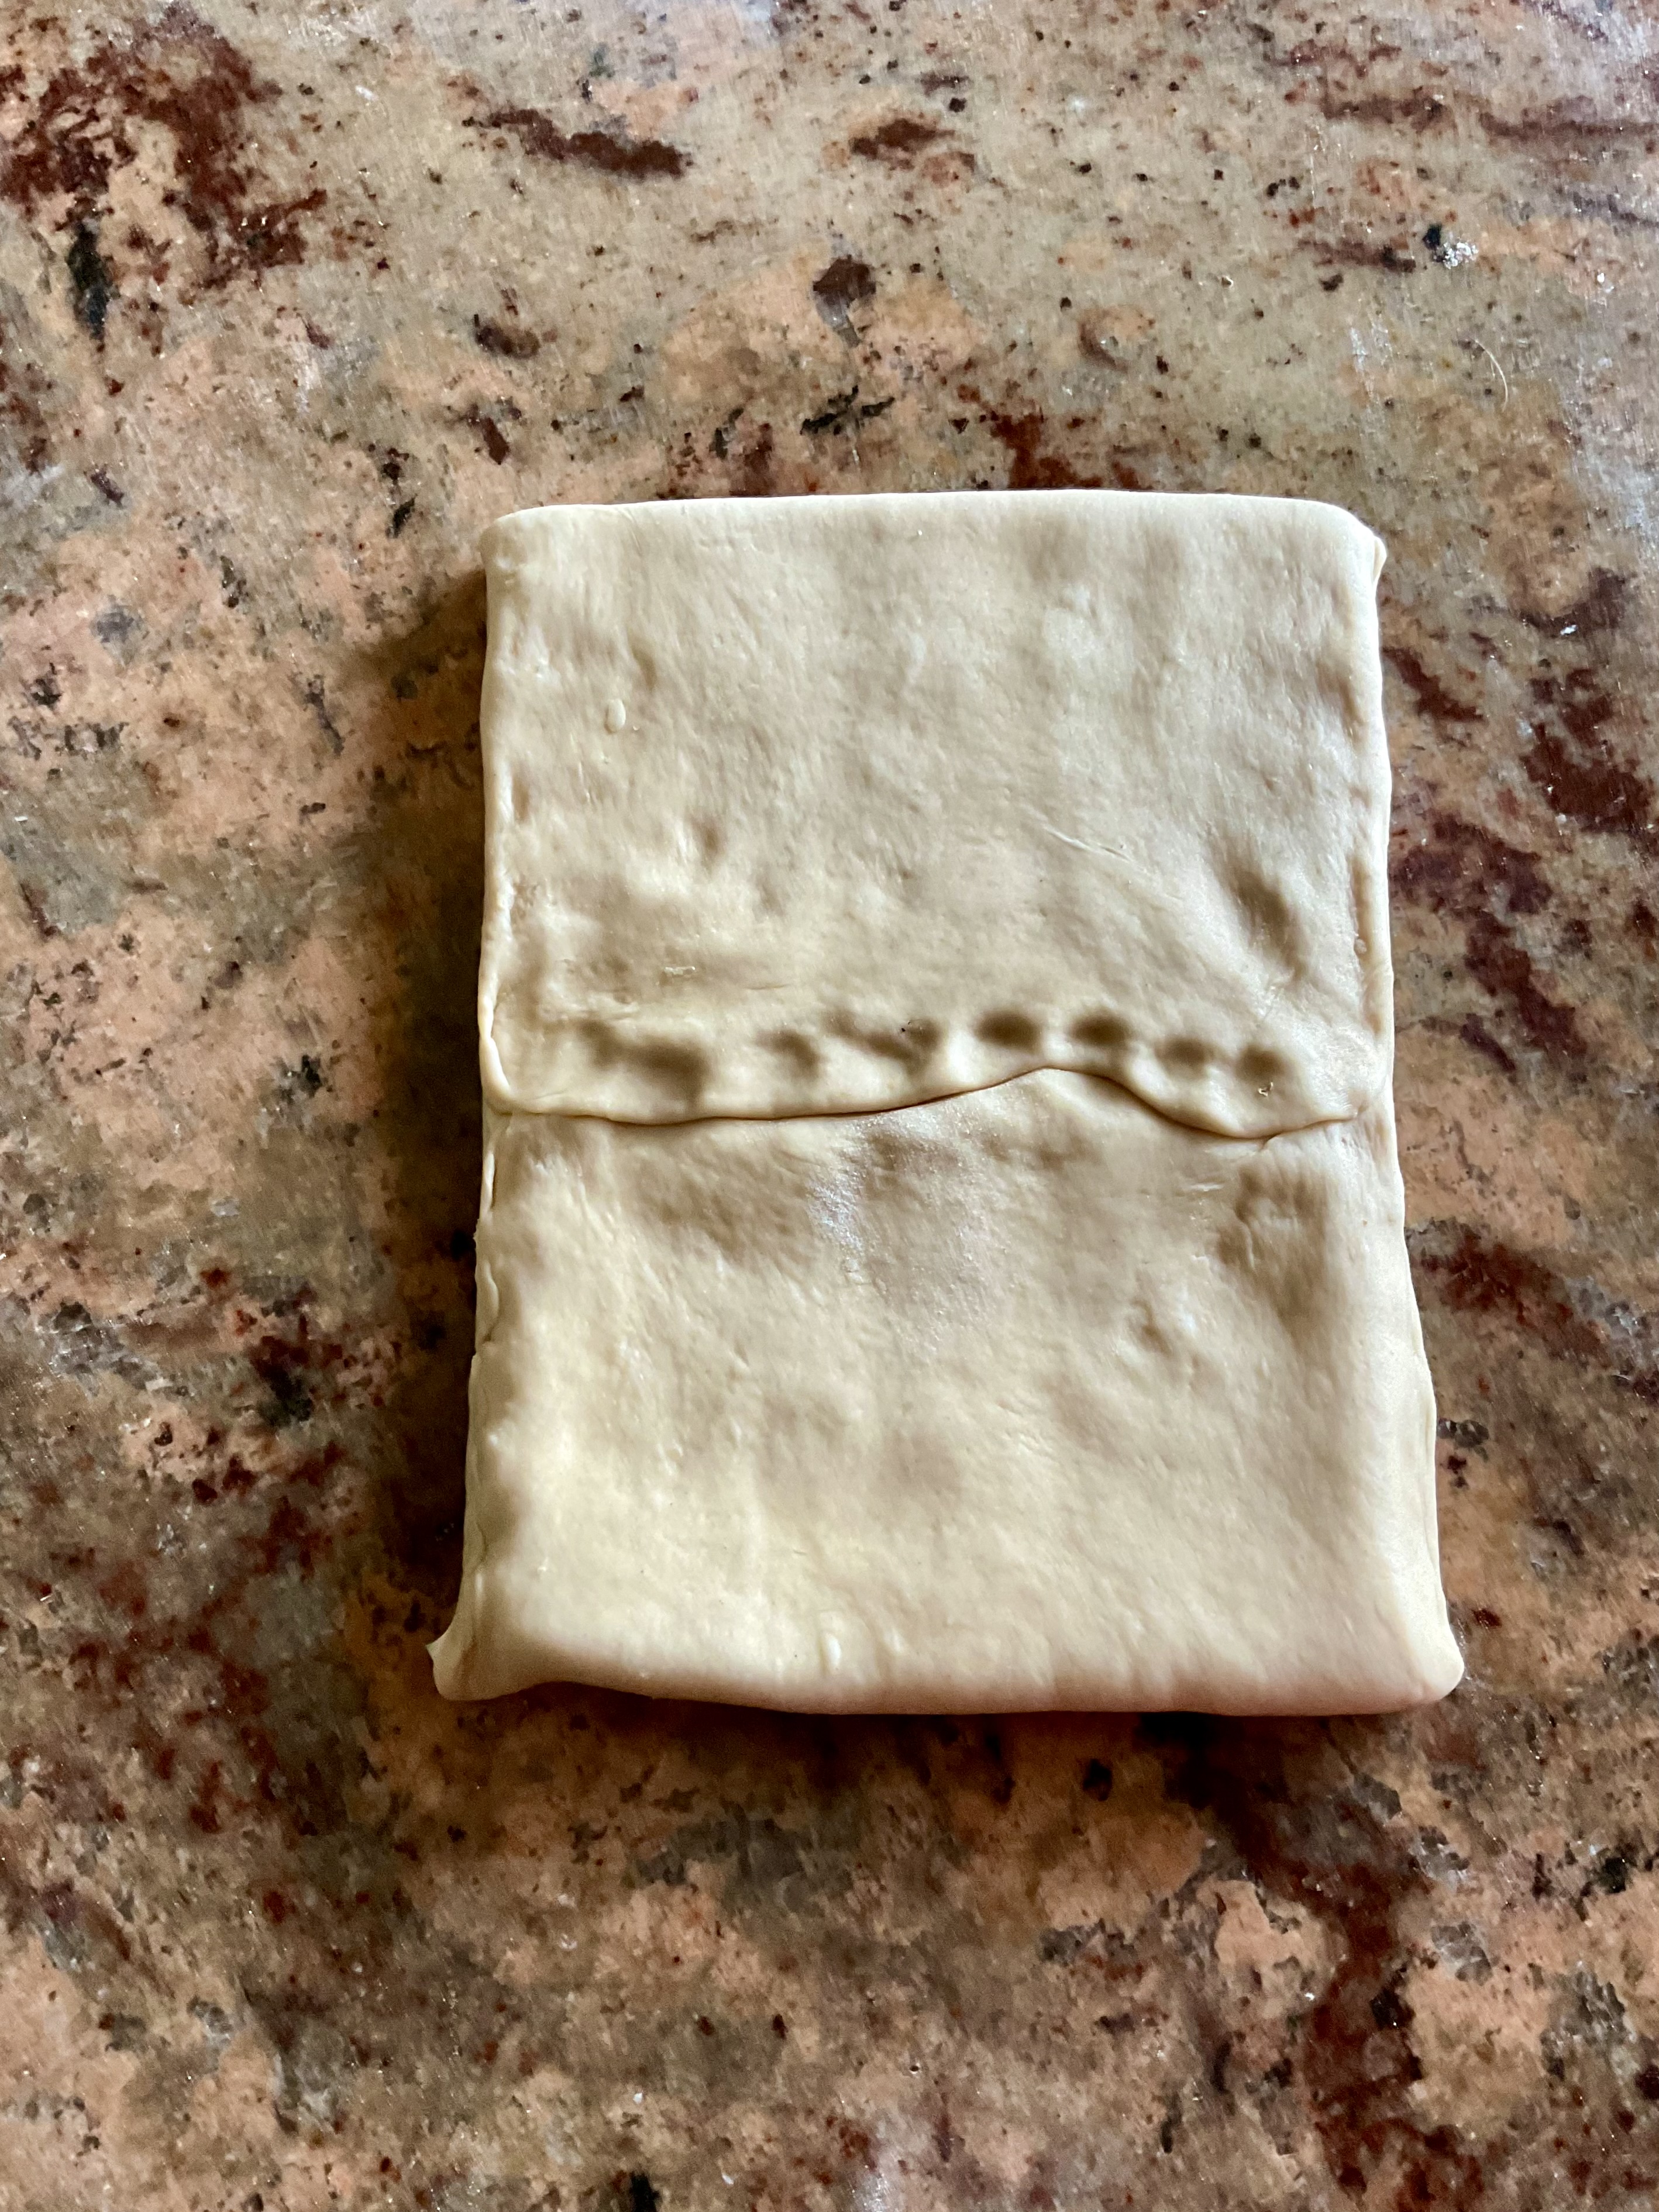
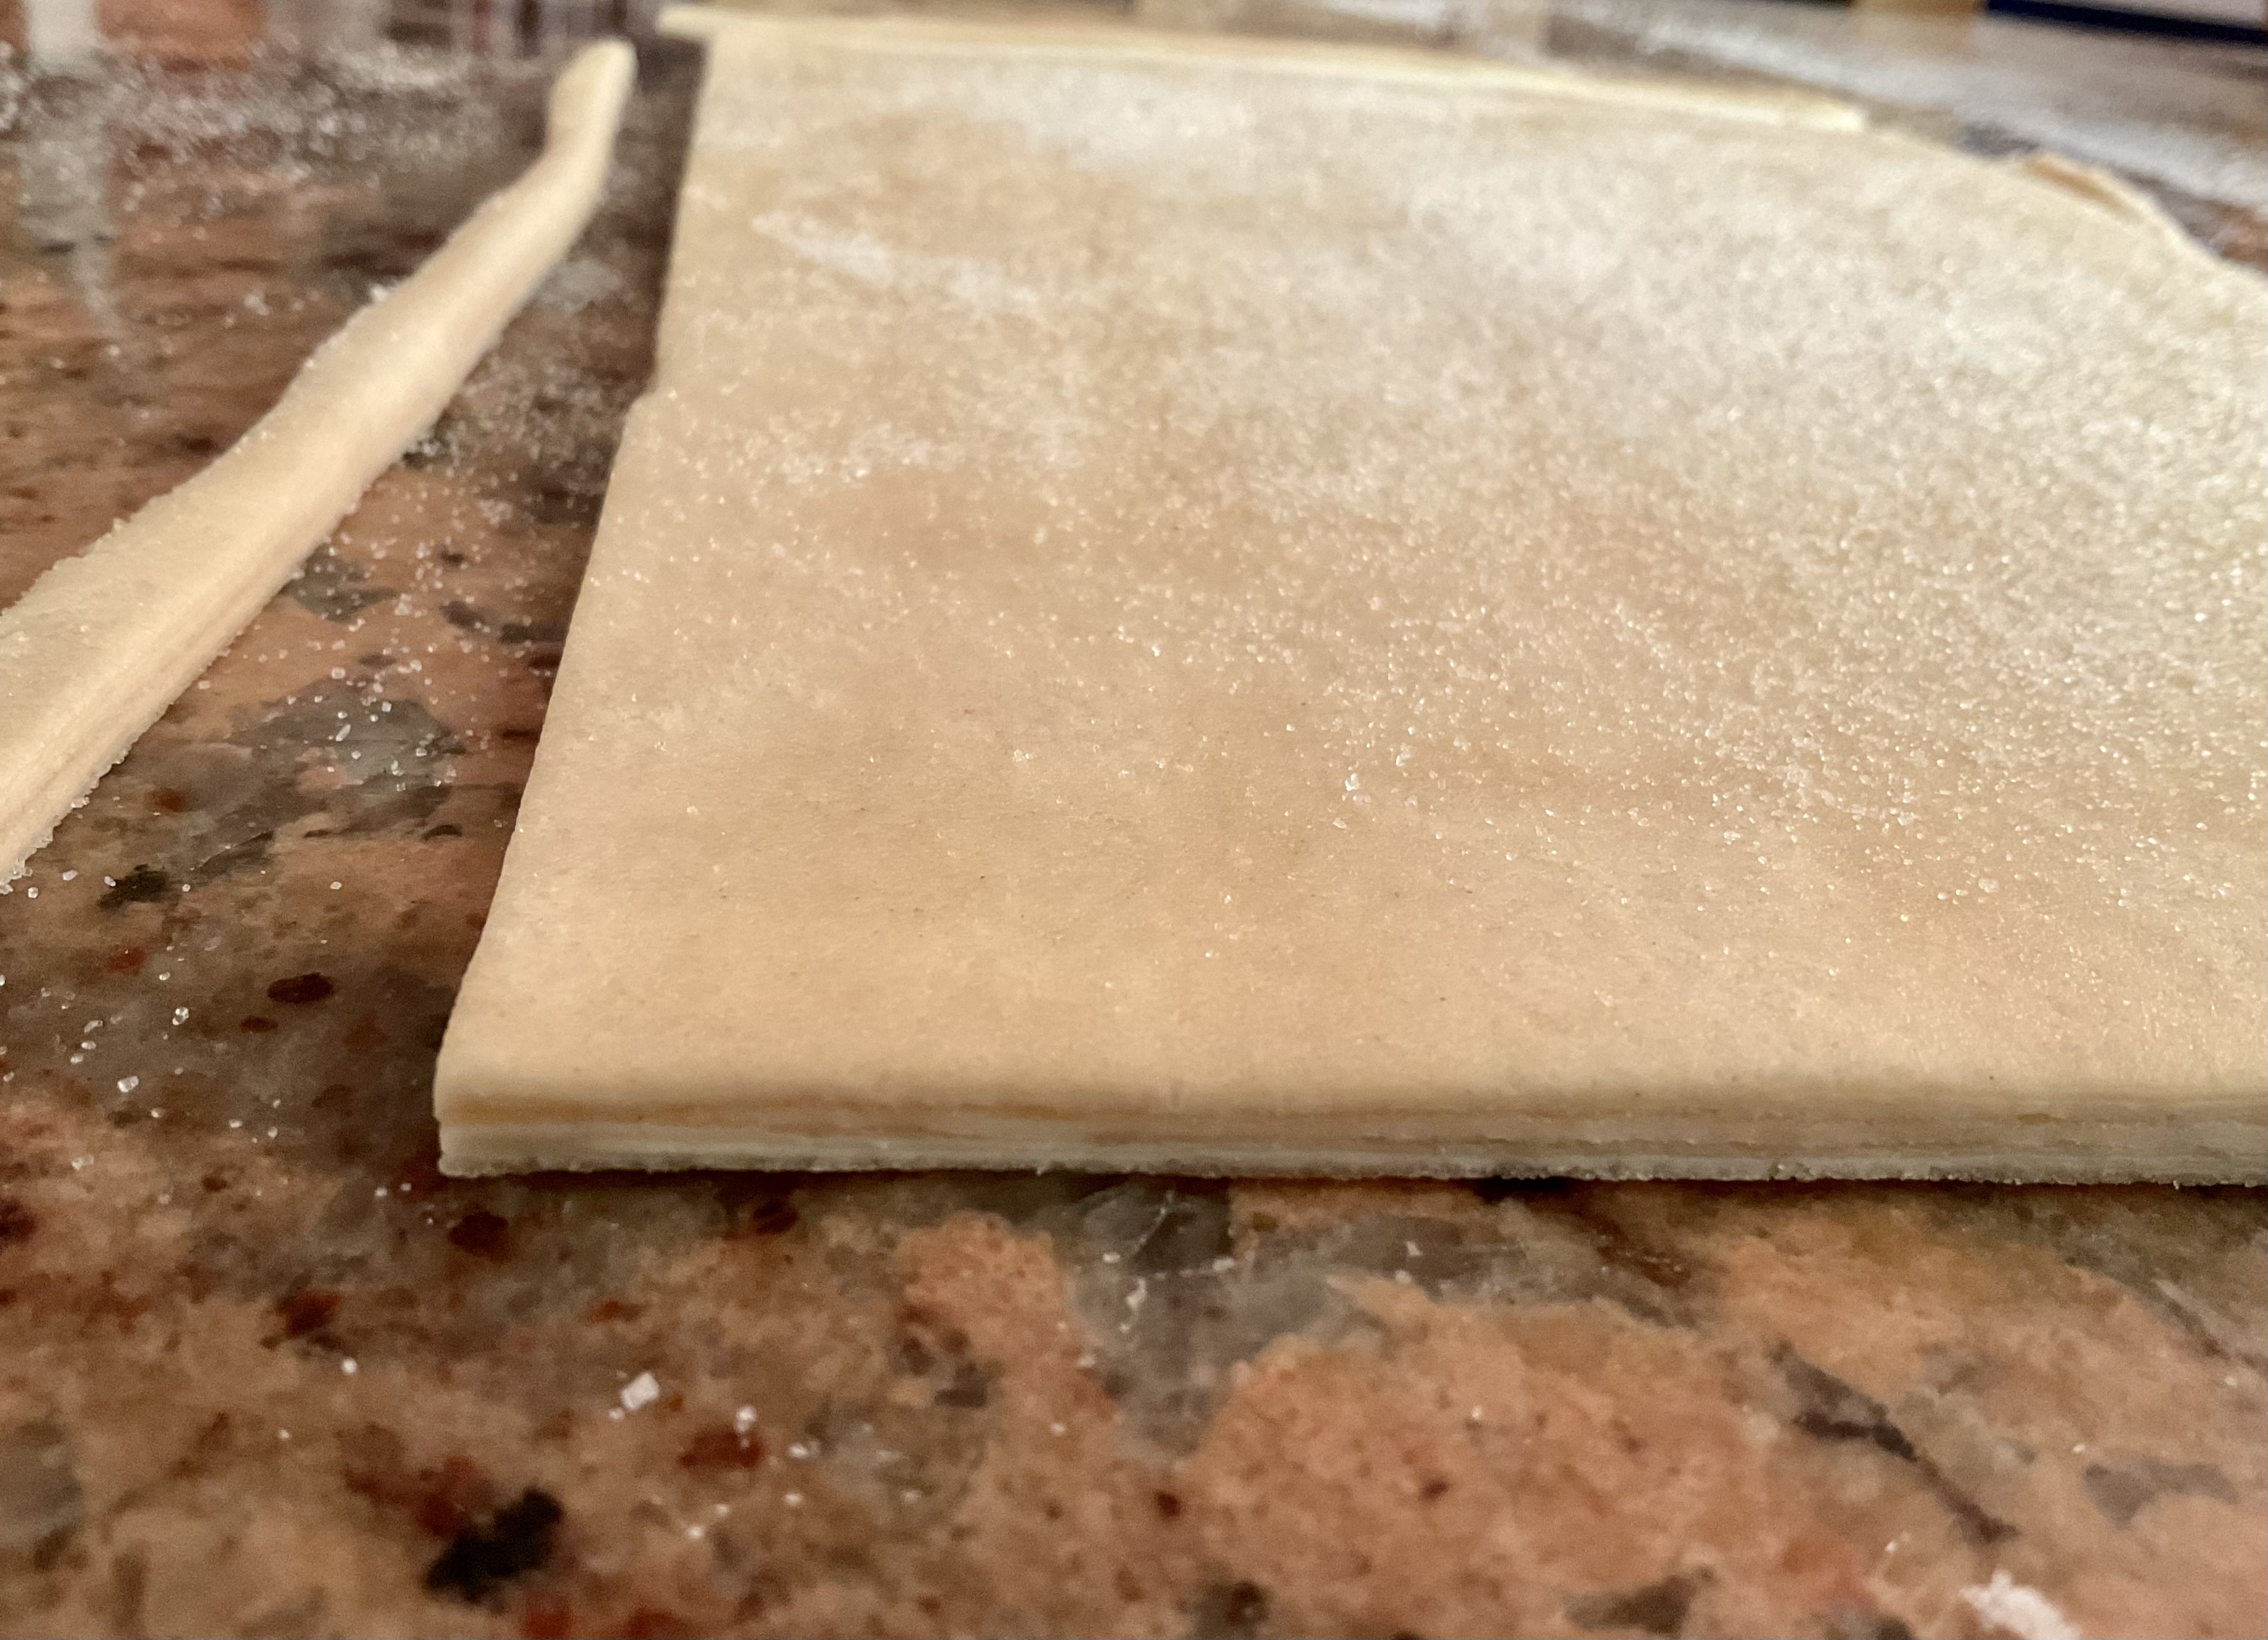
(8) Make a book turn: bring the short edges into towards the middle and fold these over themselves to give four layers of dough – as in the photos below.


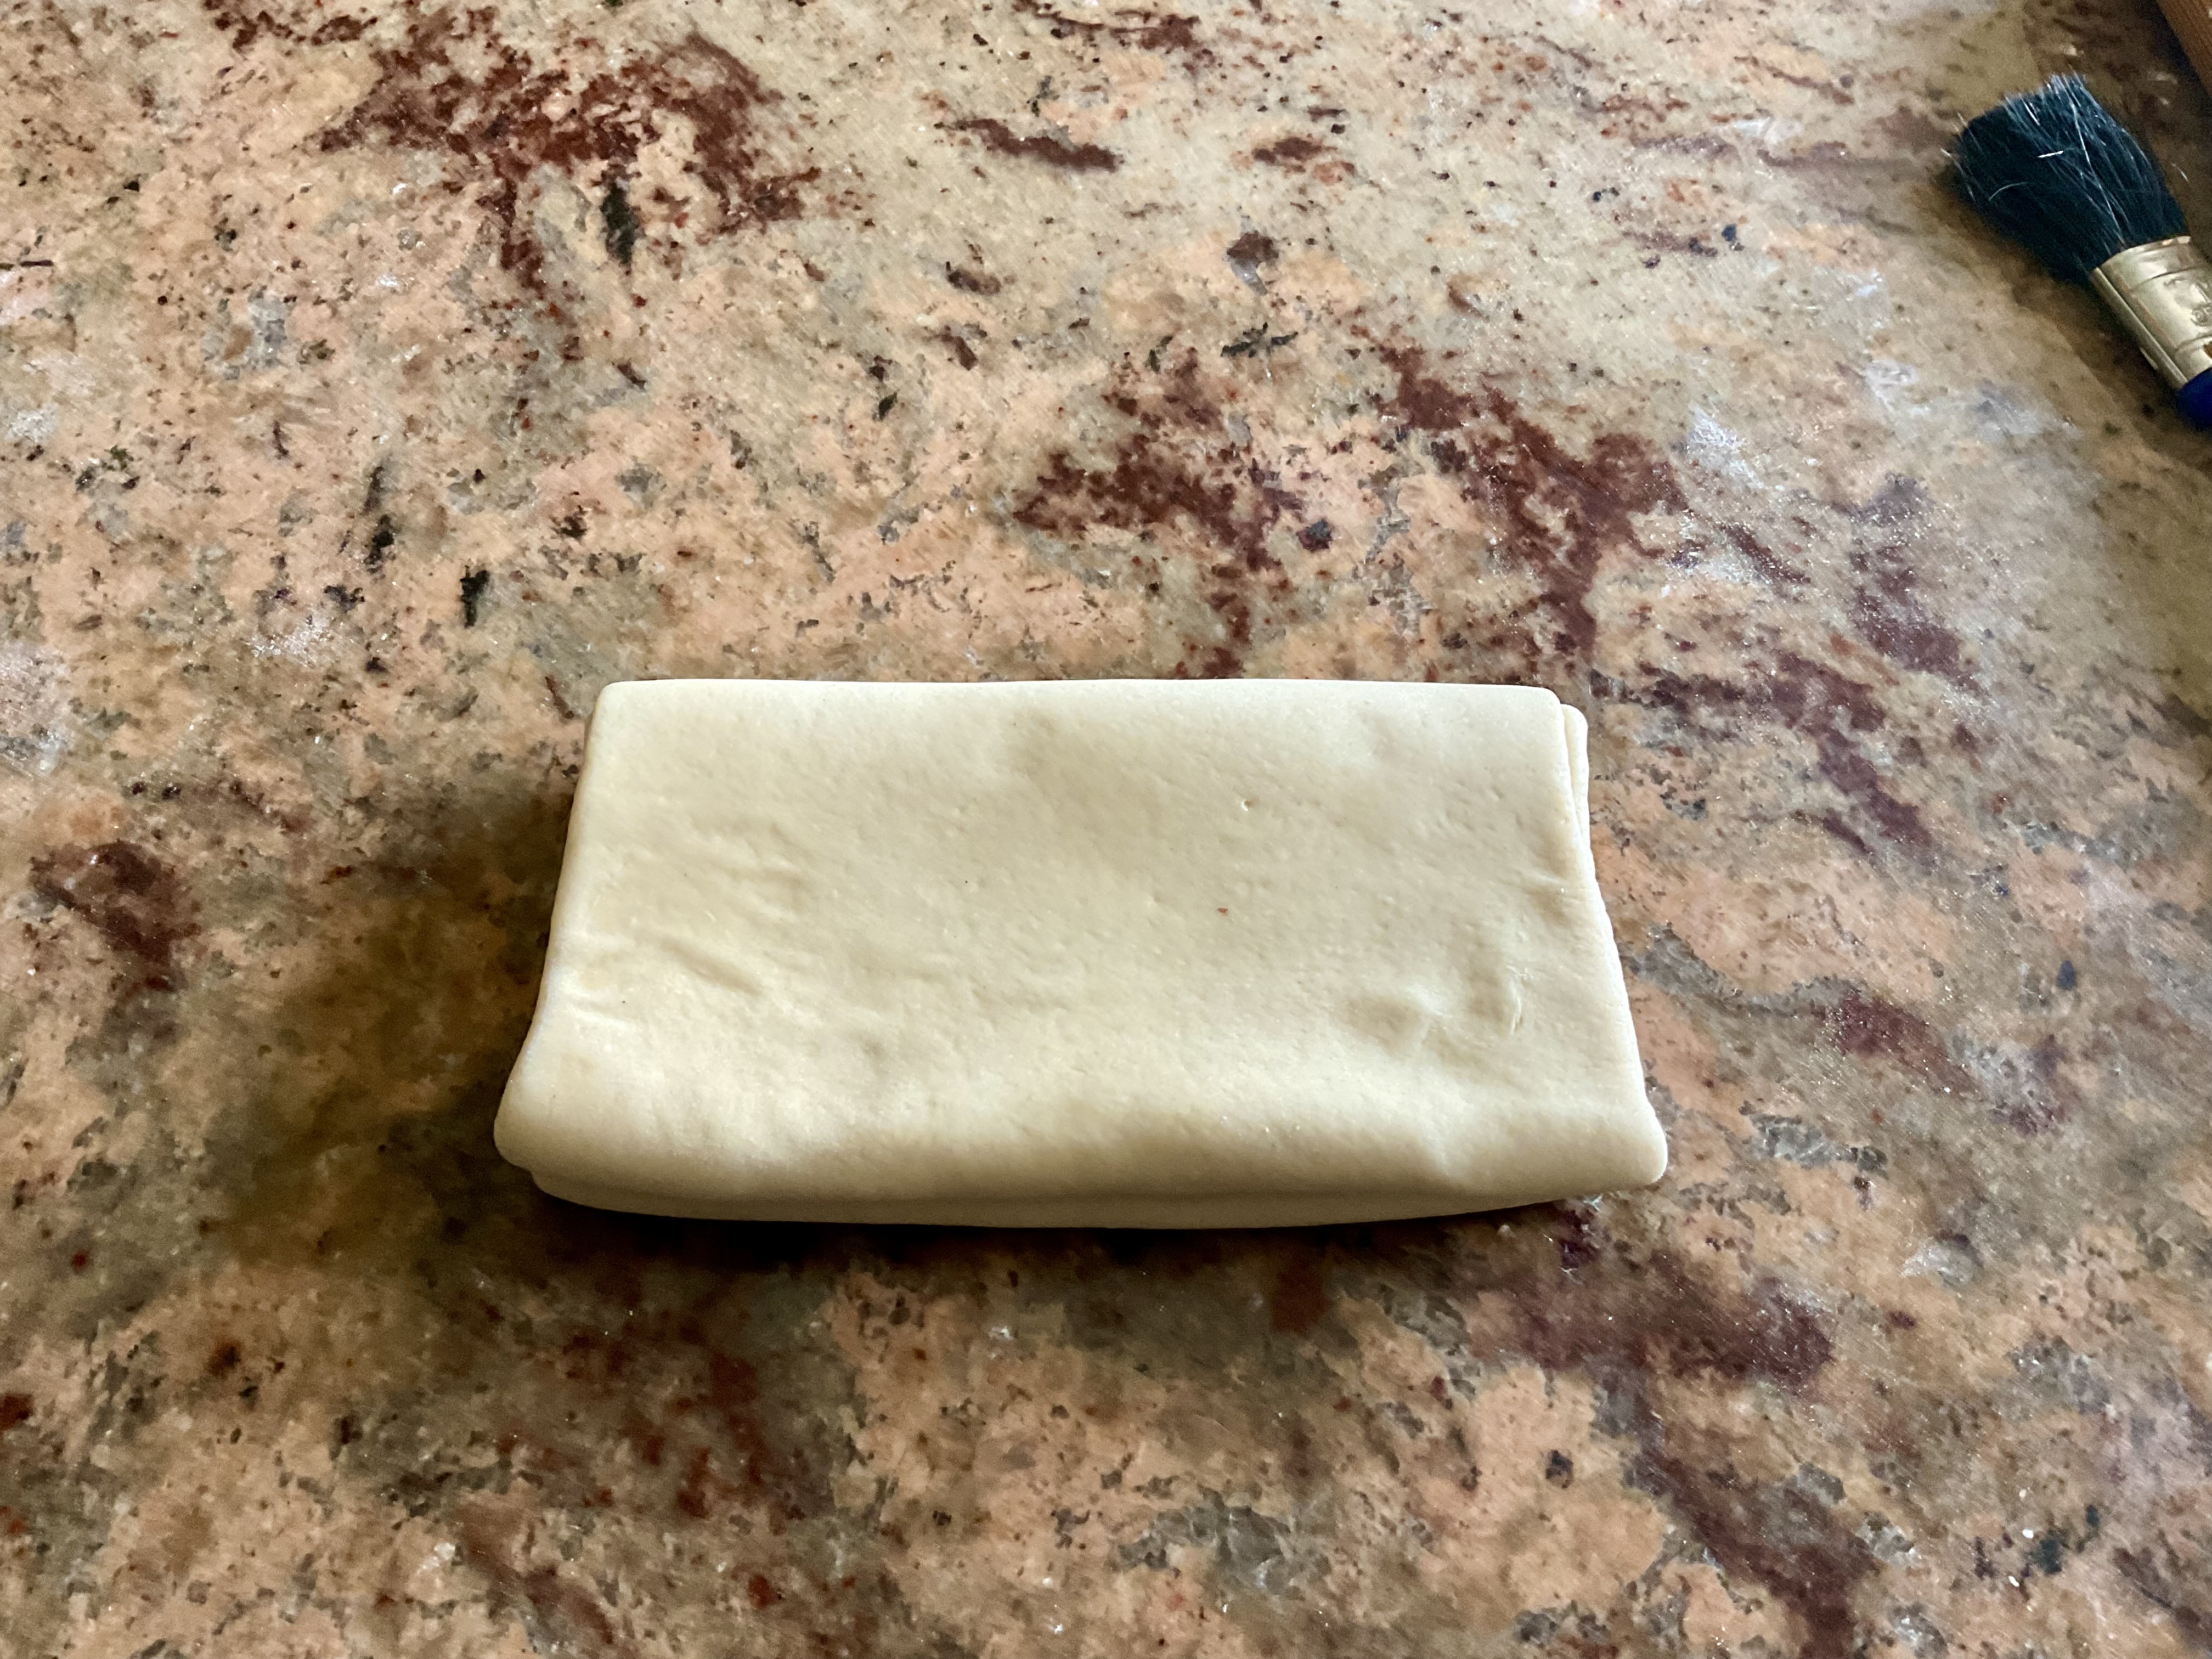
(9) Press the rolling pin gently into the dough a few times to flatten out to about half the thickness: this ensures the dough gets completely chilled throughout as well as making it easier to roll out.
(10) Wrap the dough and freeze for 15-20 minutes before transferring to the fridge for about an hour.
(11) Mix the sugar and the salt together and sprinkle 2-3 tablespoons on the work surface. Place the cold dough onto this and, with the shortest edge closest to you, roll out the dough again – this time a bit smaller, to about 15cm by 40cm. Trim the shortest edges again.
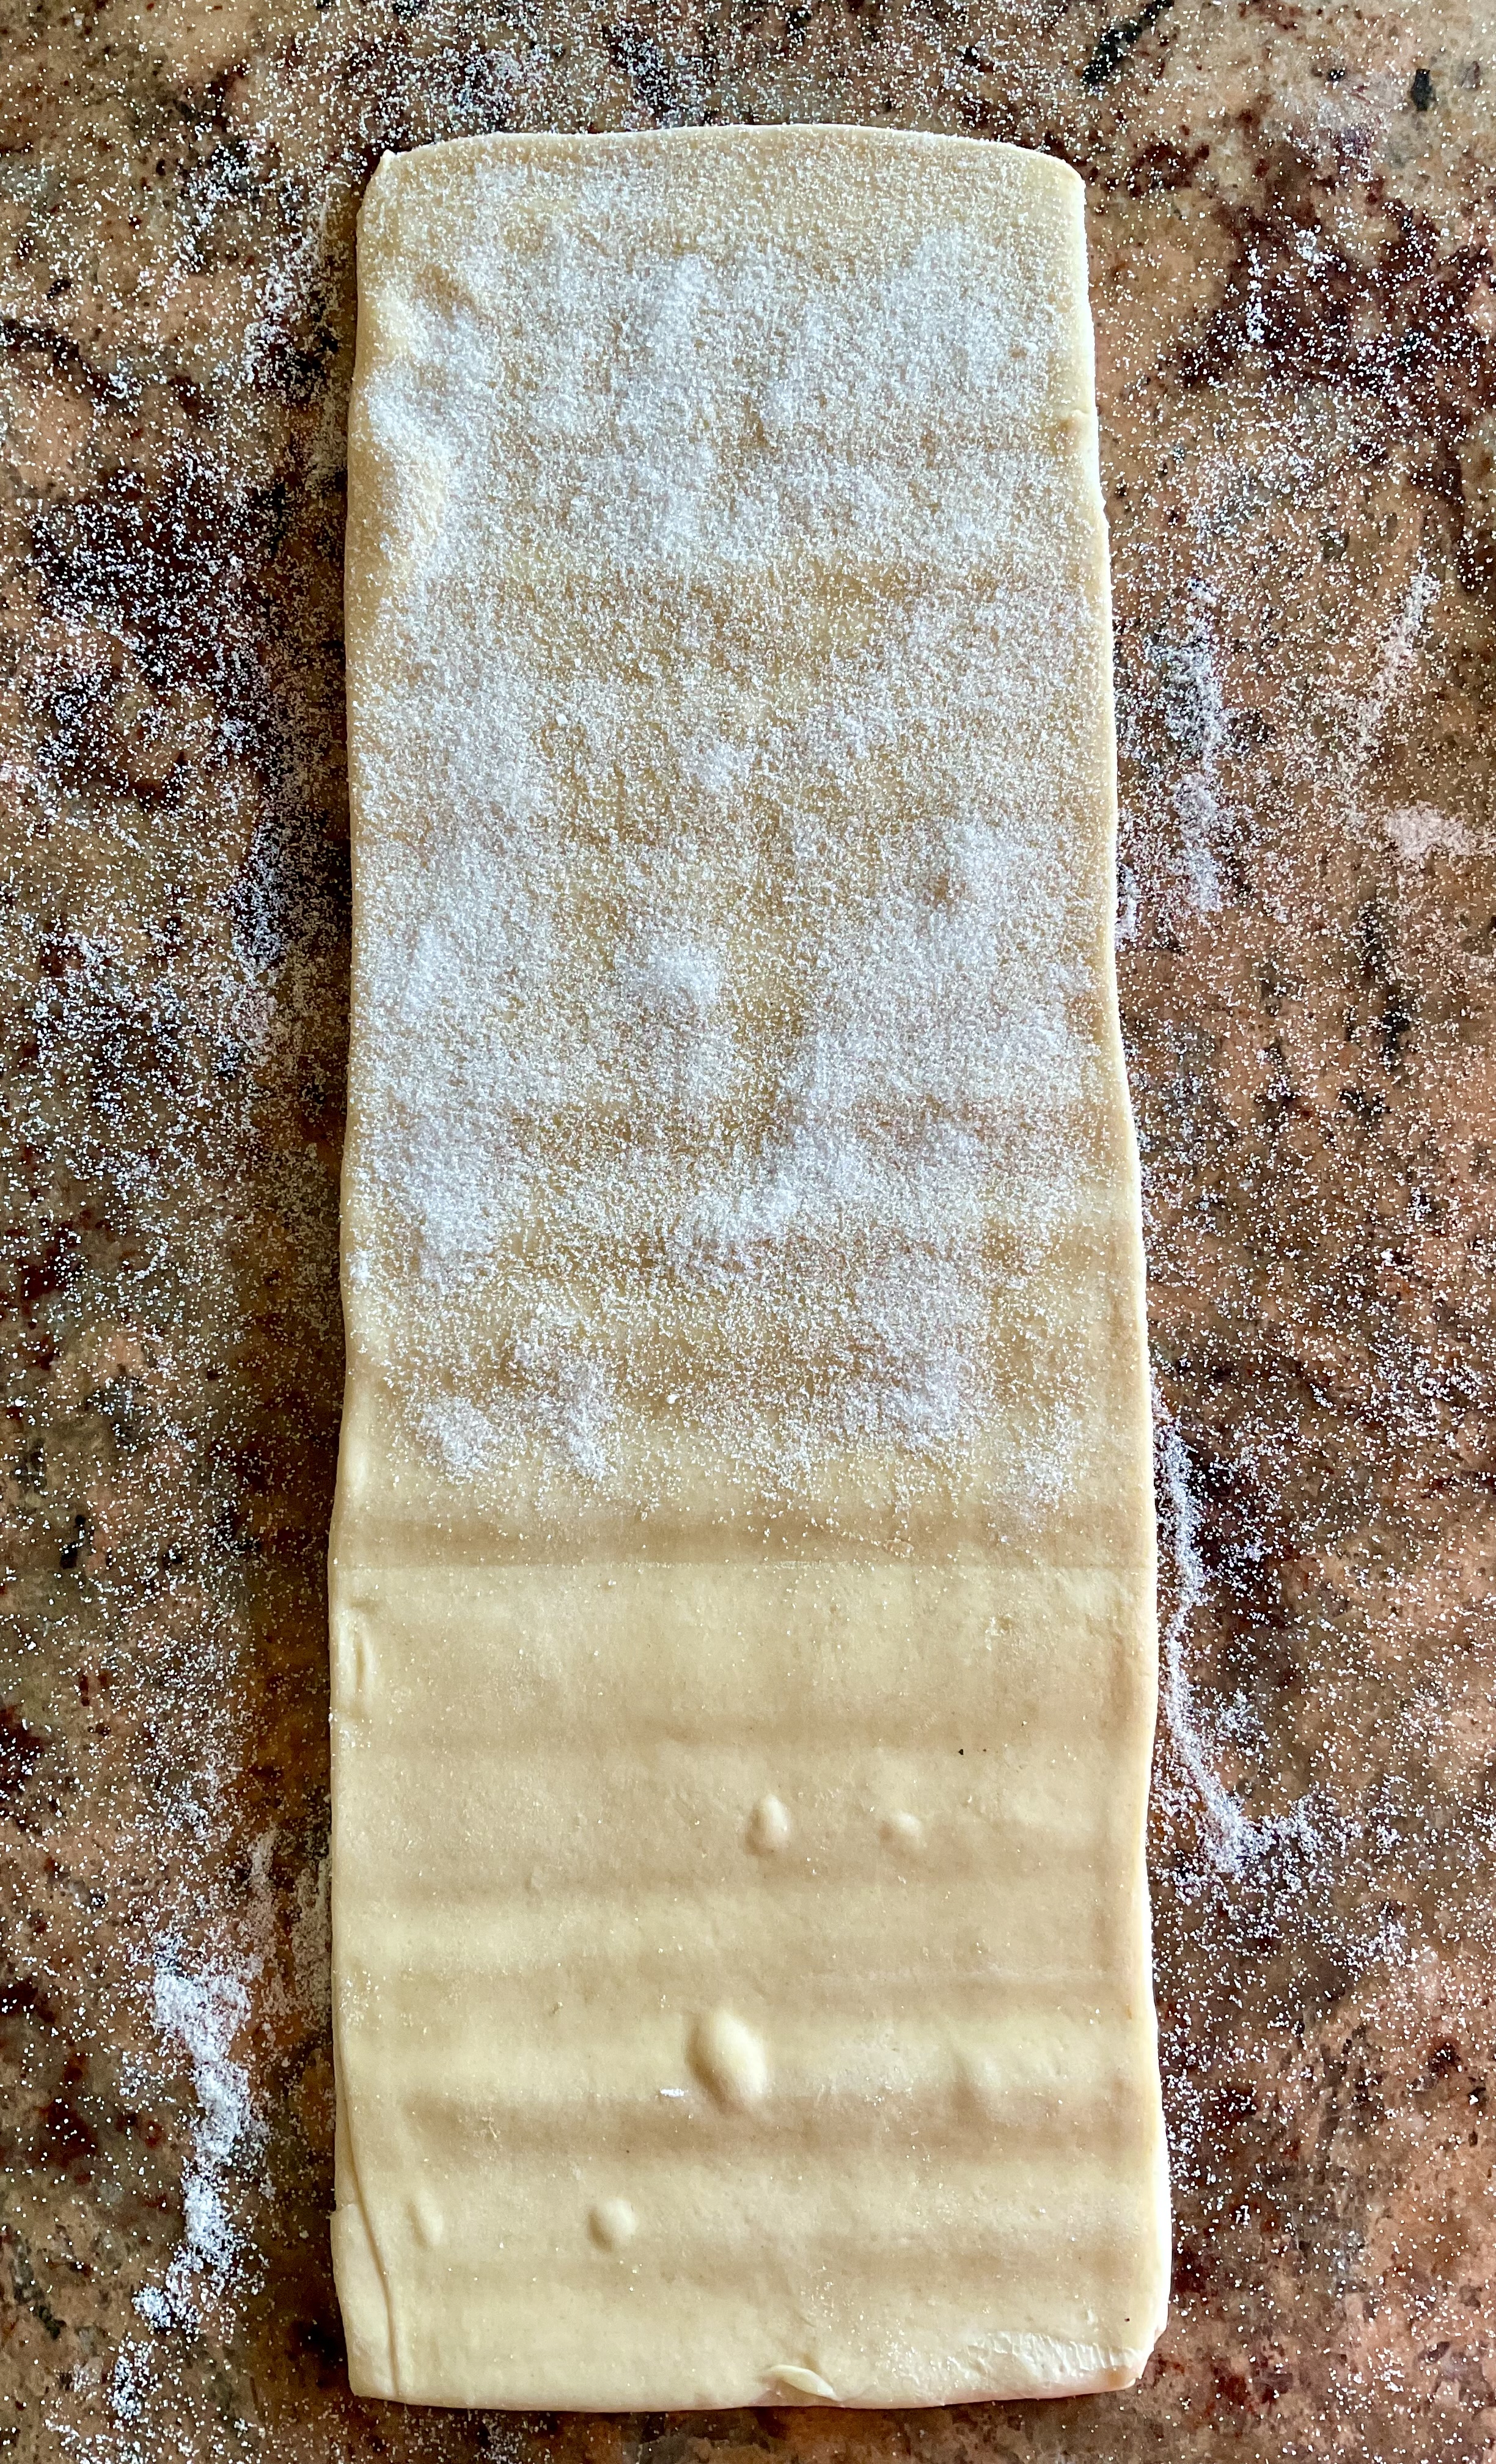
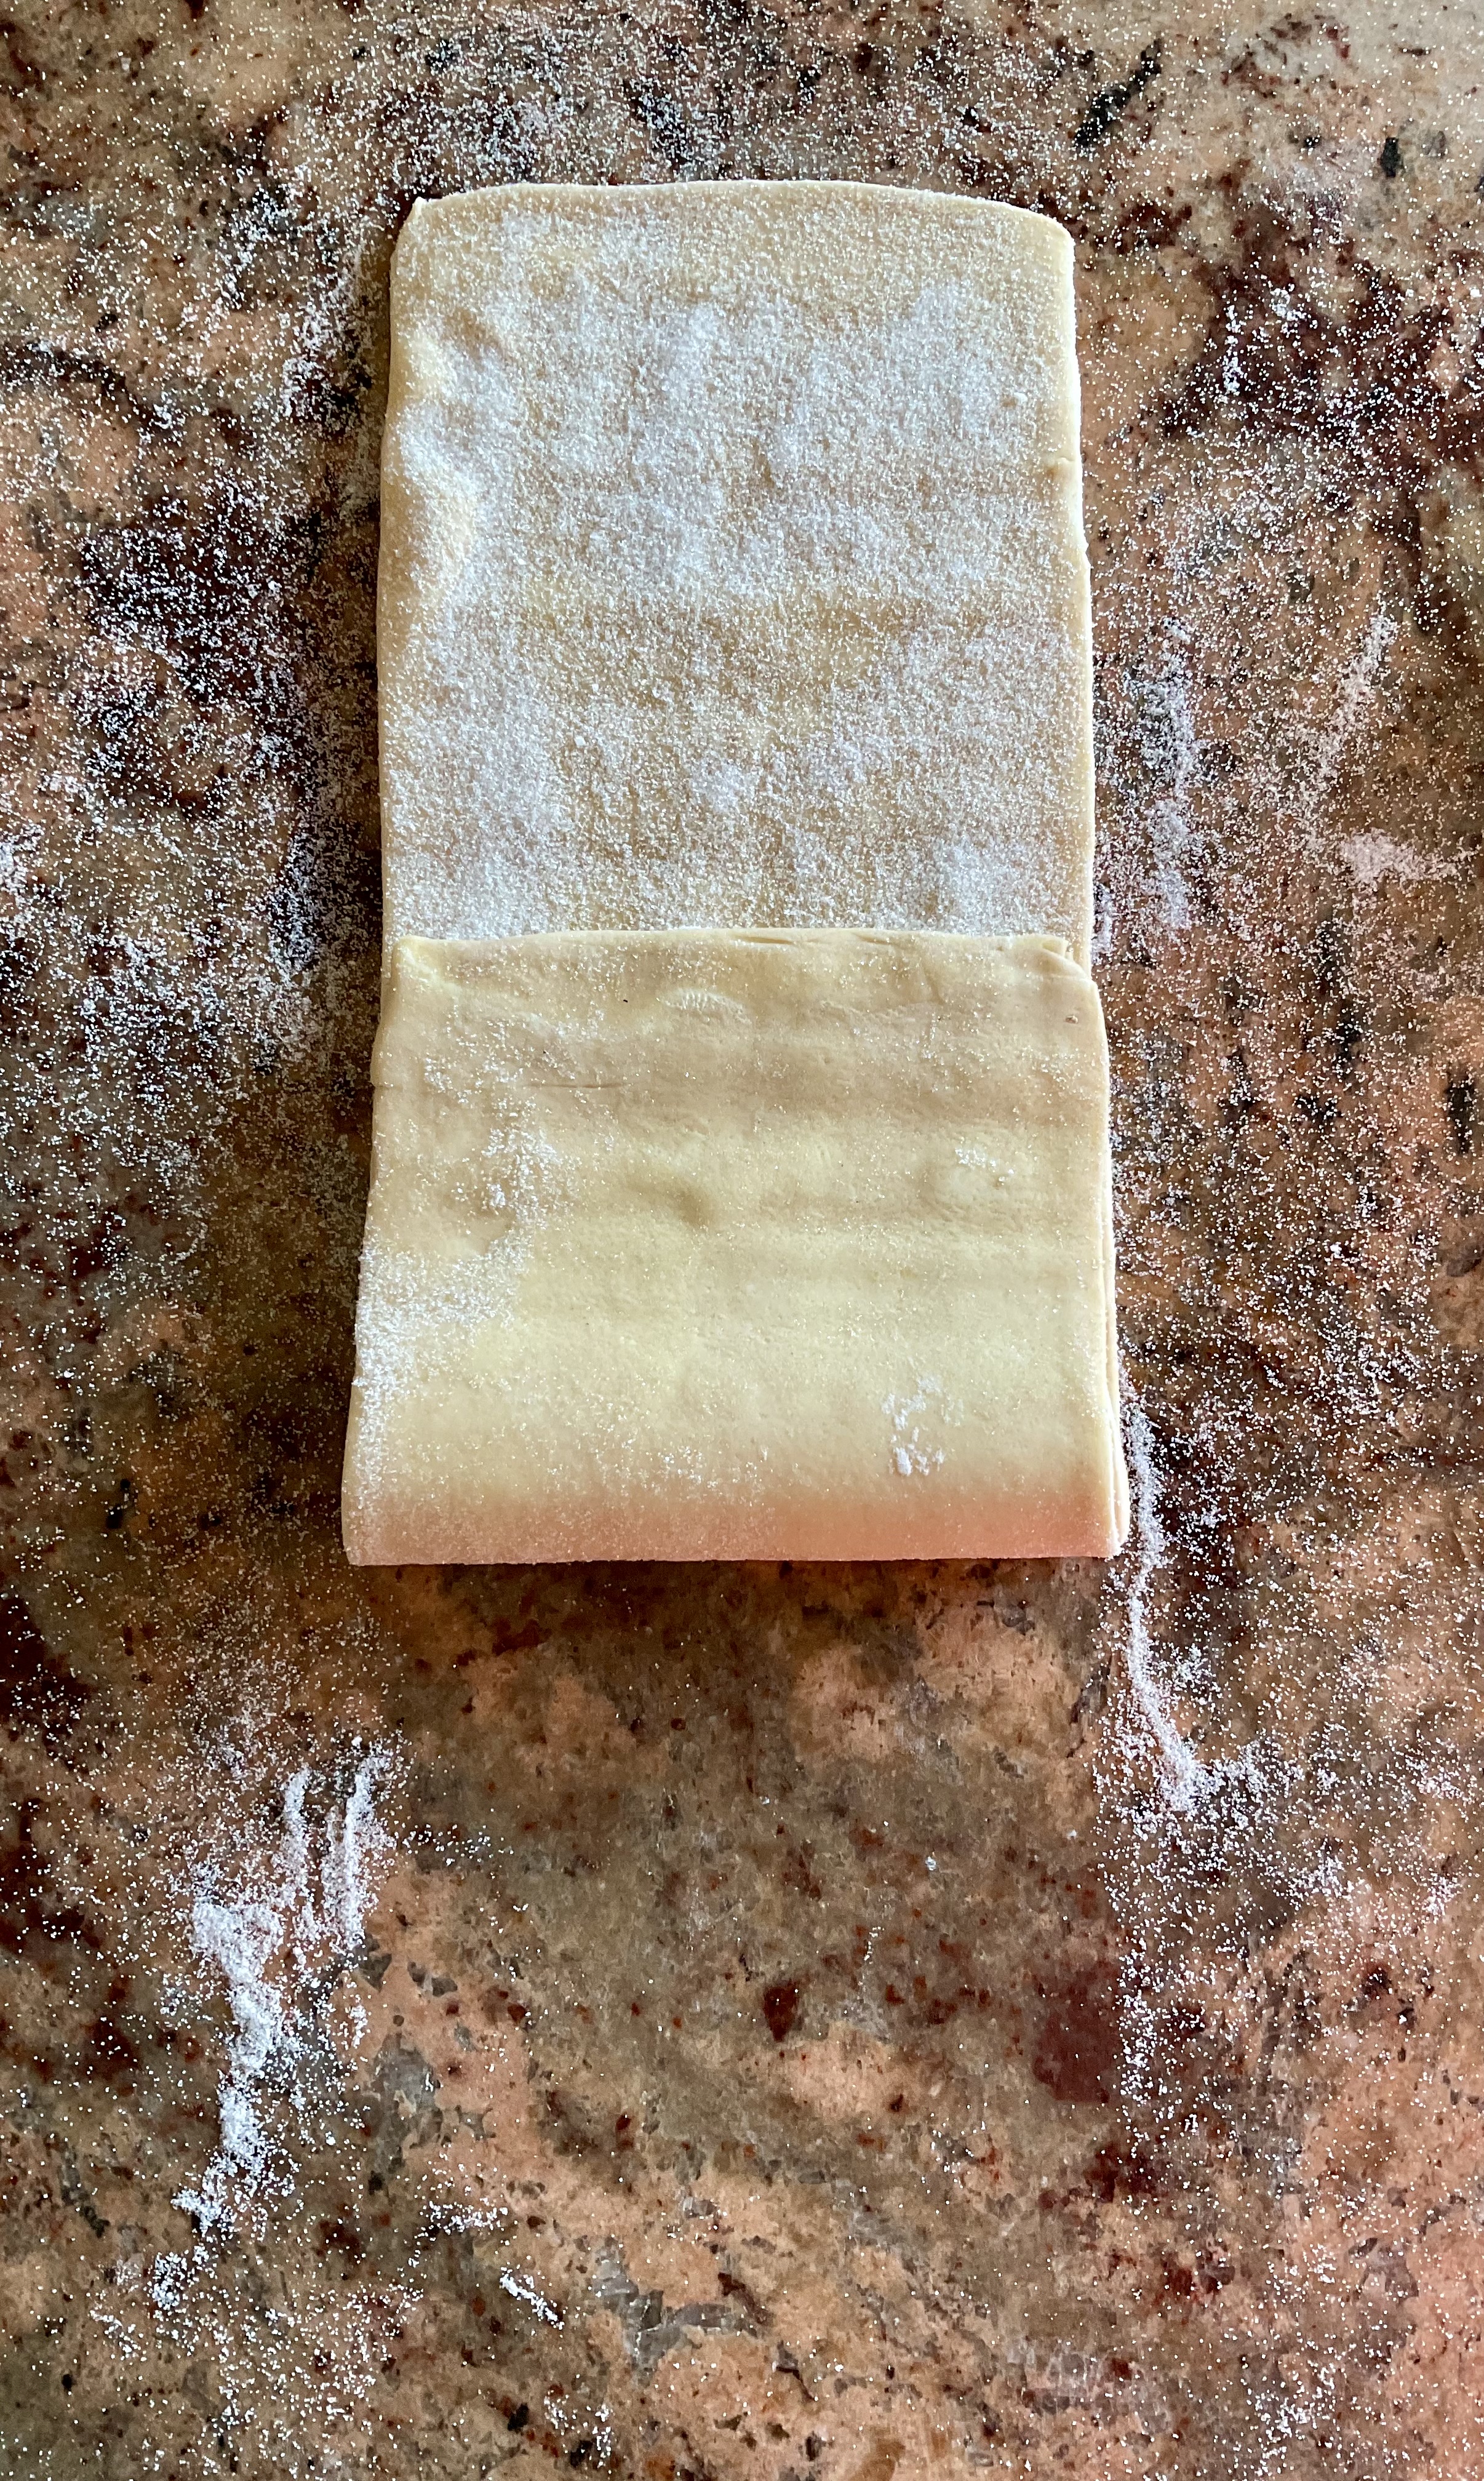
(12) Sprinkle a couple of tablespoons of the sugar and salt mixture on the top two-thirds of dough. Lightly roll the rolling pin over so the sugar mixture sticks to the dough.
(13) Give an envelope turn: fold the unsugared third of the dough onto the first half of the sugared surface and the remaining visible sugared surface of dough over this, to give 3 layers: as in the photos below:

NB: the sugar will make the dough layers slide, making it harder to roll out for the final time, so from this stage I rely on the freezer rather than the fridge because if you put it in the fridge, the sugar is more likely to turn to liquid syrup which makes it a nightmare to roll out!
The turns are now complete, so the dough just needs to be rolled out a final time before being cut and shaped. This is the trickiest part.
(14) Sprinkle a bit of sugar on top of the dough, rotate it 90° and then flip the dough over so the top sugared surface is now underneath: flipping the dough over makes tut easier to roll out shortly. Sprinkle a little more sugar on top.
(15) On the sugared work surface, press gently down onto the dough with the rolling pin several times up and down the length and width of the dough to flatten it more and elongate it a fair bit.
NB 1: this final rolling out is the tricky bit. As rolling out normally can be difficult because of the sugar inside, it is best to go a bit at a time, freezing in 10-15 minute bursts as needed before continuing to press the rolling pin into the dough.
NB 2: the sugar on the work surface and on the dough will help with traction, so sprinkle more all over as needed – you can be quite generous with this!
(16) After a few presses with the rolling pin you can start to roll out, a little at a time and rotating the dough from time to time. You are aiming for a small rectangle around 16cm by 32cm, but a bit smaller is fine. Freeze the dough for 10-15 minutes if the dough feels too soft or is resisting and then repeat the trick of pressing the rolling pin onto the dough several times before trying to roll out.
NB: I often need to freeze at least a couple of times at this stage!
(17) Sprinkle about half of the remainder of the sugar-salt mixture on top of the dough. Carefully flip the dough over, sprinkle over the rest of the sugar-salt mixture and trim the edges to give straight edges.
You now have a rectangle of dough that is well dusted on both sides with the sugar mixture and is now ready for shaping:
Shaping method 1: traditional
Cut the sugared, rolled out rectangle of dough into squares about 8cm by 8cm. Or cut in two lengthways and then each of these two strips in 4: if they are not quite square it really doesn’t matter!
Gently pinch together the opposite corners of each. Push these into the prepared tins and use your finger to press the middles right down. Or you can leave them without pressing the middle.

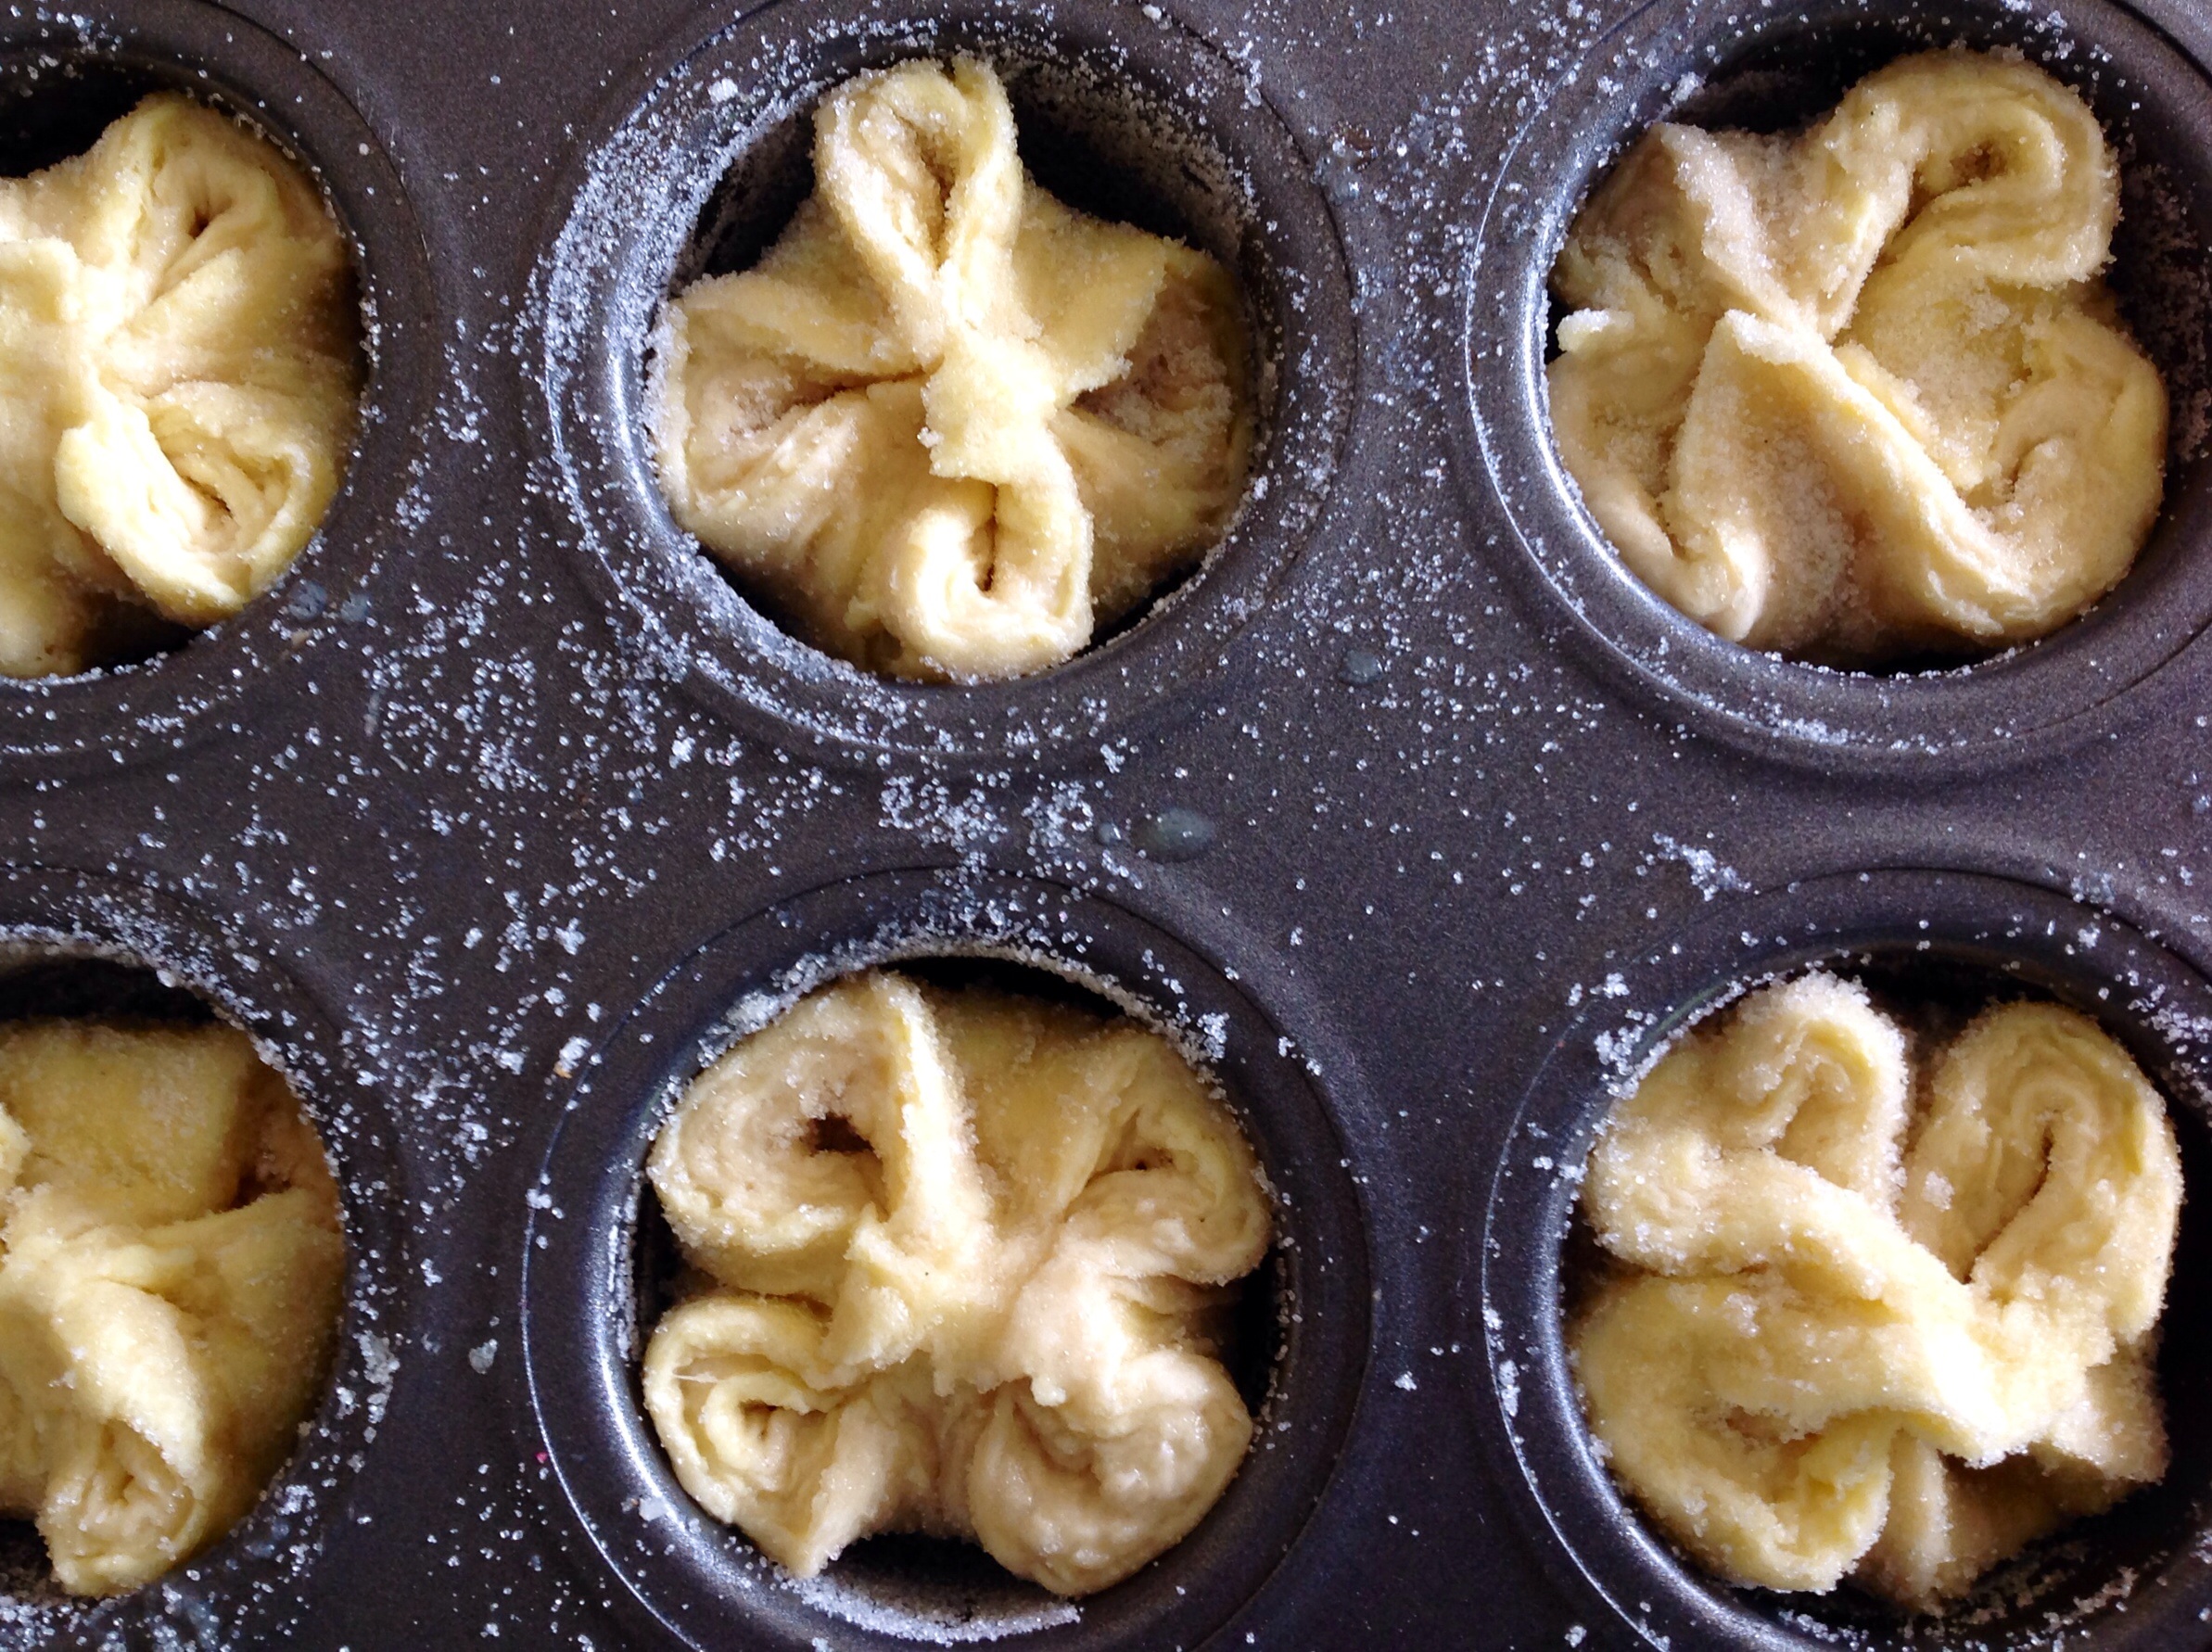
Shaping method 2: spirals
Take the rolled out rectangle of sugared dough and place it in front of you with the shortest edge closest. Roll up like a Swiss Roll to give a thick roll about 16cm wide.
Freeze about 20 minutes to firm up a little and cut into 8 pieces. Place into the prepared tins or rings.


Proving and baking:
Cover and leave to rise at room temperature for a couple of hours until a little risen and a bit puffy: they don’t need to double in size.
Towards the end of the proving, preheat the oven to 175°C(fan). Bake for 20-25 minutes until the tops are a very deep golden.
Carefully remove the Kouign-amann from the tins while they are still hot (if you leave them to cool in the tin, the caramel formed will solidify and stick them mercilessly!). Place them onto a cooling rack to cool fully.
")

Different flavours
These might not be traditional, but when pastries taste these good all must be forgiven!
Apple & cinnamon Kouign-amann:

- Add 1 teaspoon powdered cinnamon to the sugar and salt mixture.
- Peel and coarsely grate one apple and squeeze hard to extract as much moisture as you can (save the juice for drinking!). Mix the apple with 1 teaspoon powdered cinnamon and scatter over the rolled out dough.
- Shape, prove and bake as above.
Ginger Kouign-amann:

- Finely grate 3 pieces of stem ginger (from a jar in syrup). Spread over the rolled out dough and shape, prove and bake as above.
- Once baked, brush over some of the syrup from the jar.
Pineapple & rum Kouign-amann:

- Put 80g dried pineapple pieces into a small pan along with 40ml dark rum. Bring to the boil over a medium heat and turn off the heat. Leave to cool before chopping finely or puréeing.
- Spread over the rolled out dough and shape, prove and bake as above.

Two things. How much yeast should I use and will they keep for a day before eating? They look lush and want to bake them on Sunday for my work colleagues on Monday.
LikeLike
Ah yes, I forgot to include the yeast in the list of ingredients above: thanks for flagging it up. Now added. I used 5 of instant yeast here. They will keep well for a couple of days covered, ideally in an airtight container so they will be excellent on Monday.
I hope you enjoy them: they are such lovely things to eat. And very lucky work colleagues 🙂
LikeLike
These are my absolute favorite pastry & probably the one that’s given me the most headache. I finally learned to keep from burning the bottoms was to put a sheet of time foil under the pan for the first half of baking,then remove it so the bottoms would get done & caramelized. Love your photos!
LikeLike
Thanks. Yes they are especially tricky but so worth it 😀
LikeLike