
Two incredibly simple things to make that go so well together: a really perfect dip to share as a snack, a starter, part of a picnic……..
The hummus is made in seconds and will keep for a few days, covered, in the fridge. The bread can also me made in advance and frozen if preferred: simply reheat at 190C (fan) for 6-7 minutes from frozen!
The hummus
The hummus recipe is simply my variation on many that exist: I just tweak, tweak, tweak until I experience the “oh I must have more” feeling!
You do need raw garlic in hummus, I think, for that slight pungence it gives, but I often like to add a few roasted garlic cloves, which gives a slight sweetness – alteratively, some slowly roasted, or even caramelised, onions works a treat! For roasted garlic, either roast the garlic in its skin for roughly an hour at about 150C (fan) until it is soft, and then squeeze out the lovely flesh, or else peel it and slowly cook it with oil and a bit of salt for up to an hour until it softens and turns a light brown colour.

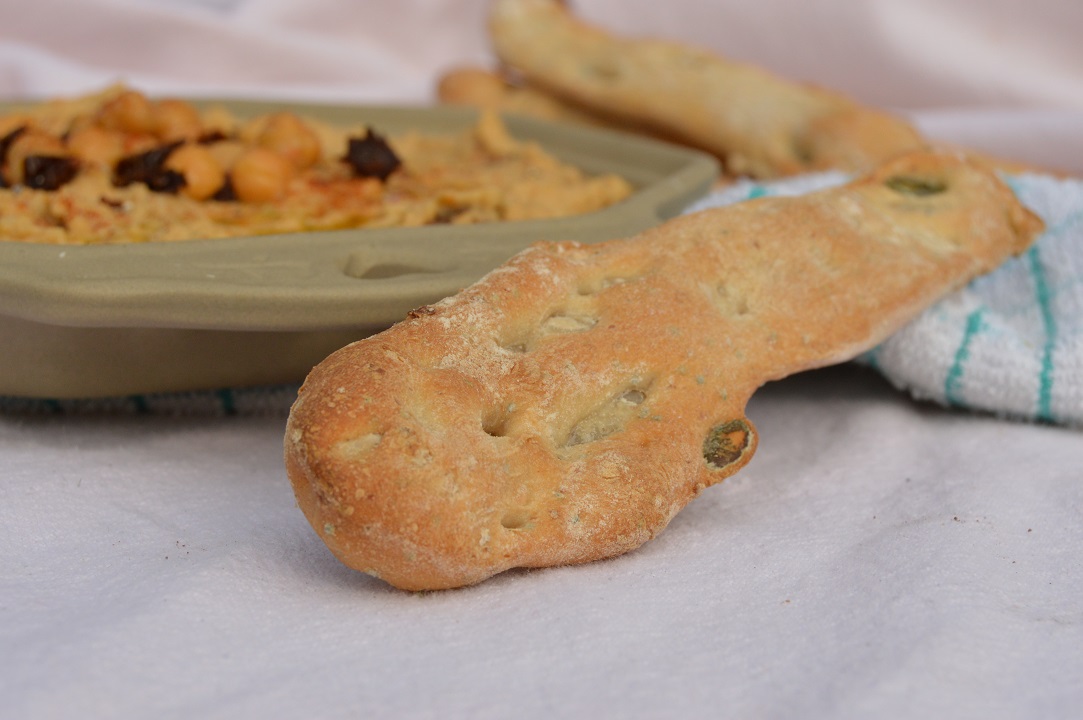
The flatbreads
Have you seen how much shops can charge for “hand-shaped flatbreads” and the like……..?! Especially the ones in cellophane wrappers with artisan labels……….well, I have been a sucker for these from time to time when caught in the moment at a great food market, but they are very easy to make and are infinitely customisable to reflect flavours you want depending on your mood at the time.
While the bread dough needs time to prove and rise, there is very little hands-on work – as indeed is the case with most breads: you simply let it do its thing and your patience is rewarded with wonderful bread that tastes infinitely better than any you can buy – not to mention costing mere pennies to make a large batch!

Don’t get put off by shaping the flatbreads: they really need not be uniform in size and you don’t even need a rolling pin as you could simply pat the dough with your hands onto a well-floured surface and then stretch them to get the size and shape you want. However, if you want precision, put small pieces of the dough through a pasta machine to get thin sheets of dough, and use a very sharp, long-bladed knife to cut into rectangles. Personally, I love the rustic look with these flatbreads.
I have a jar of mixed seeds that I like to dive into as the mood takes me: rather than buy bags of ready-mixed seeds, I buy separate small packets of individual seeds – sunflower, pumpkin, poppy, sesame and the like – mix them together and store them in a jar.
Recipe: sun-dried tomato hummus – serves 2-3

- 1 can of chickpeas, including most of the liquid
- 1 teaspoon fine sea salt (or use the wonderful smoked sea salt)
- 2 teaspoons tahini paste
- 8-10 sun-dried tomatoes, drained if they are in oil, and coarsely chopped
- 5 tablespoons extra virgin olive oil, plus an extra tablespoon or so for drizzling over the top
- 2 cloves of garlic (or 1 clove of raw garlic plus 1 bulb of roasted garlic)
- juice of half a large lemon
- a little cayenne pepper
(1) For the hummus, simply place all the ingredients, apart from a few of the chickpeas and a couple of the tomatoes, into a food processor or liquidiser and blitz for a few moments until you get the texture you want: either perfectly smooth or fiarly coarse. Add a little more of the chickpea liquid if you want a slacker hummus, but it should be fairly thick.
(2) Scatter over some of the remaining chickpeas and sun-dried tomatoes, drizzle over a little more oil and dust lightly with cayenne pepper.
Recipe: seeded flatbreads – makes about 14
- 150g strong white bread flour
- 50g rye or wholemeal flour
- 1 – 2 tablespoons mixed seeds of any type
- 1 teaspoon cumin seeds, toasted, cooled and roughly crushed
- 3g fine sea salt
- 3g easy-blend dried yeast
- 120-150ml cool water
(1) Mix the flours, mixed seeds, cumin seeds, salt and yeast into a bowl – ideally, the bowl of a food mixer with the dough hook attached. Add most of the water and mix on medium until it all comes together to a soft but not sticky dough. Add more water if needed.
(2) Keeping the machine on medium, knead for 15 minutes until the dough becomes more elastic – alternatively, knead by hand on a lightly floured work surface.
(3) Cover the bowl with cling film and leave the dough to prove at room temperature until about double in size (or pop it in the fridge for an even slower rise, while you get on with other things: although the slower rise gives bread that has more flavour)
(4) Turn the dough onto a lightly floured work surface and knead it for a few moments to collapse it. Cut into small pieces about the size of walnuts (about 25g or so), and roll out either lengthways into an elongated oval shape – or roll both ways to get more circular shapes. Place on baking sheets lined with greaseproof, a little apart, and leave, uncovered, for about 45 minutes until slightly puffy (they do not need to double in size). Meanwhile, preheat the oven to 200C(fan).
(5) Once they are a little bit risen, you can gently stretch them with your hands if you want them longer. Bake for about 12-15 minutes and remove to a wire rack to cool fully.
NB: if you want them really flat, simply place a baking tray over them after they have slightly risen and bake with that second tray on for about 10 minutes, removing it to allow them to crisp on top: it might seem counter-intuitive to place a tray over them once they are risen, but they will still be light.


Yumm !!
LikeLike