I adore poppadoms either with a curry or just to snack on shamelessly, especially if I have with a fiery chutney or two to scoop onto them!
I’m not talking about the supermarket poppadoms you can buy that are ready to deep-fry, or the ready-to-eat poppadoms that come packed in plastic (grr!); I’m referring to making the dough and savouring those deliciously crispy poppadoms at the end.
Poppadoms are fairly easy to make and you can also put your own flavour-stamp on them if you wish or keep them plaion. I tend to add white pepper, garlic powder and onion powder but I occasionally add a teaspoon or so of cumin seeds.

The dough is made up in seconds and it doesn’t need resting: you just roll it out very thinly – as thinly as you can (that is the only challenge – see below) – before drying slowly in the oven and deep-frying.
You can also make them as large or as small as you like and go quirky if the mood takes you with the shapes. I tend to go small size, so the poppadoms start to flirt with elegance!
The flour
The right type of flour is crucial: black matpe bean flour (or papad flour) gives the characteristic bubbling over the surface as the dried poppadoms hit the hot fat, as does lentil flour. These are easy to buy in the World Foods aisle of the supermarkets or online.

Rolling thinly & drying
The thinner you can roll out the dough, the crispier the fried poppadoms will be: a bit under a millimetre gives the best crisp results. I find it easiest using a small plastic rolling pin (meant to be used for fondant icing!) and rolling between two oiled baking mats or sheets or greaseproof.

The drying is essential and it is easier to dry them on the sheet you rolled them on rather than lifting them up. If you just roll, cut and fry without the drying you will get some bubbles on the surface but the poppadoms will remain flaccid rather than crispy.
For drying, you can pop them in a dehydrator overnight or in an oven with the heat set low. They should be firm with a very slight flexibility to them, but it is fine if you dry them until they are brittle.
Recipe: poppadoms from scratch

- 3 tablespoons matpe bean flour
- 1/2 teaspoon salt
- 1/2 teaspoon ground white pepper
- 1 teaspoon onion powder, optional
- 1 teaspoon garlic powder, optional
- cold water to mix
- vegetable oil for rolling out and frying
- chutney/dip/pickle to serve – see below recipe
(1) Mix all the dry ingredients together in a bowl and add enough water to give a firm dough with no dry bits. Knead for a minute or so until the dough is smooth. Work in a bit more flour if it seems at all sticky or hard to manage.
NB: as there is no gluten in the flour, there is no danger of over-working the dough
(2) Rub a little oil on a silicone mat or sheet of greaseproof with your hands.
(3) Take a chunk of dough and put it onto the mat. Pat down lightly with your oiled hand and roll out very thinly.

(4) Use a circular cutter (small, medium or large!) to cut out circles: no need to lift them off the mat as they might tear – just leave them where they are as when they dry out they will be easier to handle.

")
Alternatively, you can take a small piece of dough – about the size of a walnut – and roll it out for one poppadom. You then just lift the rolled-out dough carefully by running a palette knife slightly underneath and peeling off to transfer to the baking sheet that goes into the oven. As with making pancakes, the first couple might look a bit rough but you will rapidly get a feel for it.
(5) Place in an oven preheated to 60C(fan) for about 90 minutes to dry, turning them over after about 45 minutes. These will keep in an airtight container for ages.


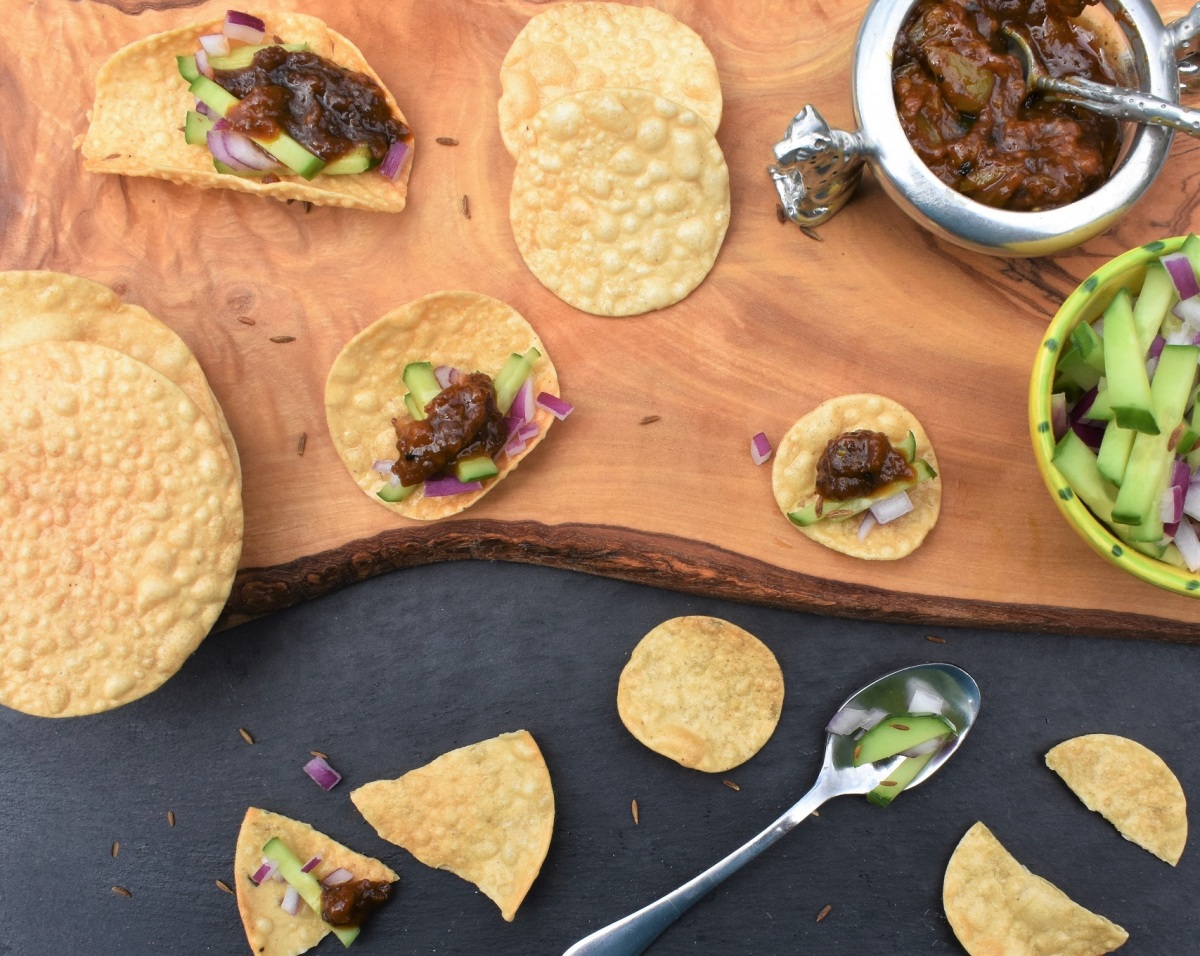
(6) Using either a deep-fat fryer or a wok with a couple of inches of oil heagted to 175-180C, fry them one at a time for up to about 10 seconds: they will sink first but as soon as they blister and float to the top they are ready. Don’t keep them in there too long as they will start to go brown.
(7) Drain, pat gently with kitchen towel and leave them at least a few minutes (to cool down, when they crisp up further) before diving in.
pickles & chutneys to go with the poppadoms:
")


Delightful! And it looks so easy to make.
LikeLike
I live in a little village in Spain. I can get lentils so could I make the flour my self.
Thanks Rich
LikeLike
yes definitely. I hope you enjoy them
LikeLike
Hey, I love poppadoms and am excited to make these – I have a couple of questions.
1. We have an air fryer with a “dehydrate” function. Have you every tried drying the dough with this function, and if so, how long, what settings, etc.?
2. Let’s say I dry the dough (either with the air fryer or in the oven) as instructed – can they be air-fried/cooked in the air fryer?
Thanks!
LikeLike
Hi I’ve used it to dehydrate the discs and it works well but for cooking them they really benefit from deep or shallow frying in oil rather than air-frying for the best texture: they don’t go as crisp in the air-fryer for the cooking of them
LikeLike